This article documents the end to end journey of a service job in a newly provisioned Solarvista database and applications.
The article consists of the following steps including screenshots
- Create a new customer record.
- Creating a service job (using minimal details) for the above customer.
- Planning the job to a mobile device.
- Viewing the job details on the mobile device.
- Reporting on the job using the mobile application.
- Viewing the completed job in Solarvista Explorer.
- Generating a charge on the job. (Jobs to Check process)
- Processing the job into an invoice.
- Printing/exporting the invoice.
To make full use of the Solarvista functionality, and provide worthwhile audit, job management and reporting information, much more data will need to be added into Solarvista to support the above processes. However, the article demonstrates that the applications are ready for use out of the box.
Create a new customer record.
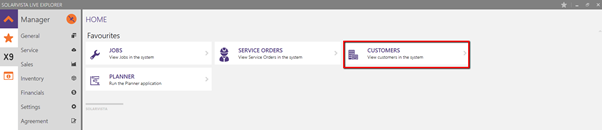
Once a user first logs into the system, they will be presented with their Home screen showing the options under the Favourites menu option.

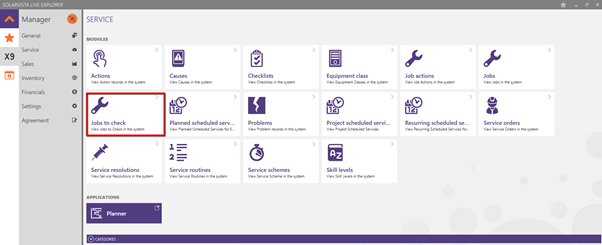
Clicking on the Menu icon (highlighted above) will display the Solarvista Live Explorer menu options, these are grouped into several distinct areas, for example, all service related activities can be found under the Service menu option etc.
Before a job can be raised there must be a customer record to place the job against, this can be created from the Customers icon which can be found in the Favourites or in the General menu options.
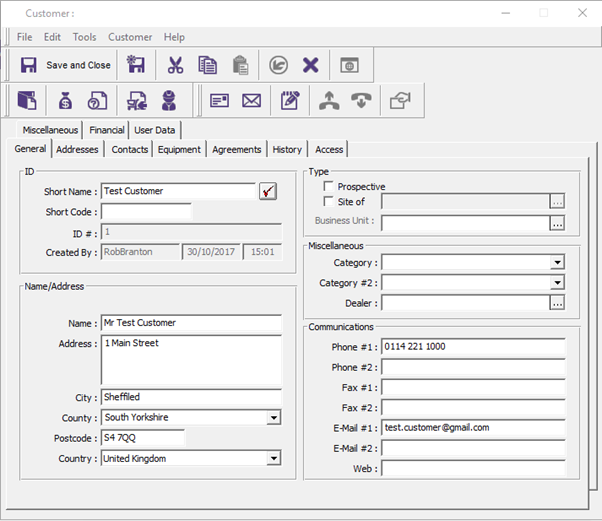
When the Customers view is opened for the first time, it will be empty. There is a New button that is used to launch an empty customer form to enter the customer details.

This form has been completed with minimal details added to the General Tab to create a new customer.
Creating a service job (minimal details) for the above customer.
Once the customer record is saved and reopened if necessary a Job can be created directly from the customer record as highlighted below.
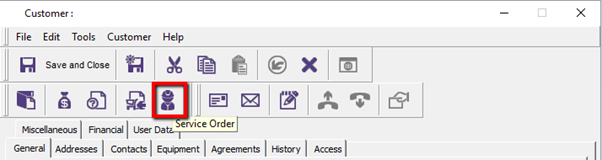
This opens a Service Order form pre-populated with the customer details. A Service Order is a container for one or more jobs at the customer site, and also holds the invoicing address for the job.
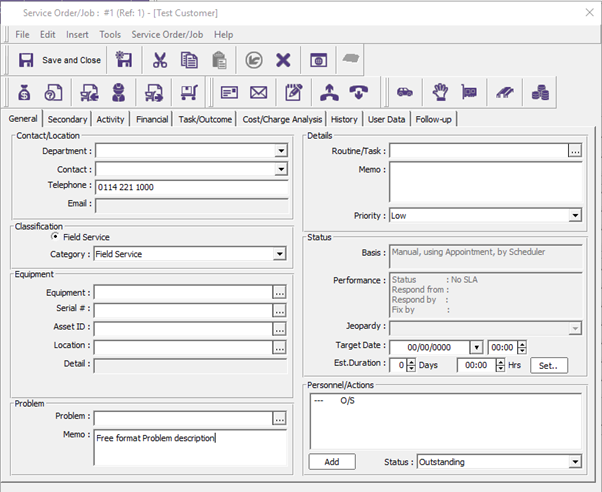
To create a Service Job linked to the Service order, use the New button in the bottom right-hand corner, this opens an empty Service Order Job form to enter the job details.
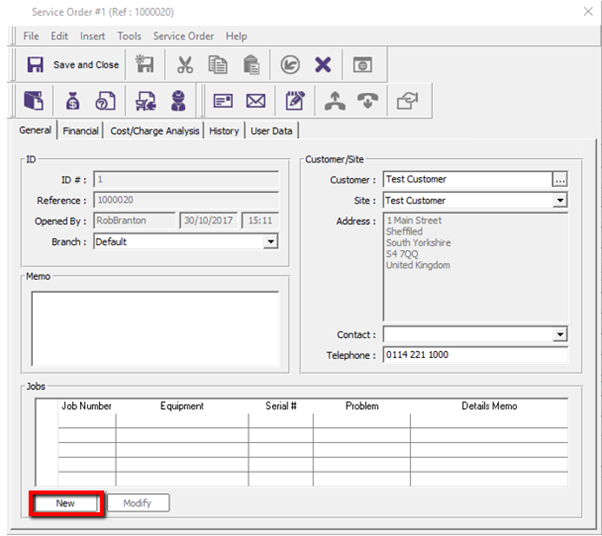
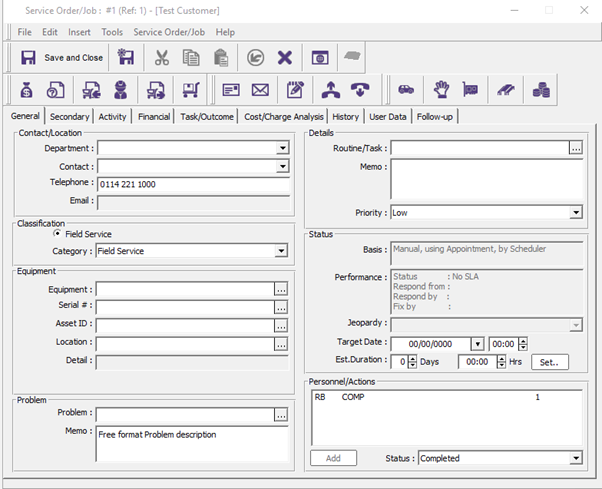
This opens an empty Service Order Job form to enter the job details. As no supporting data has been set up in the database the job is created using a default Job Category, no customers equipment and a free format problem text has been added. This is the minimum information required to create a job record.
Planning the job to a mobile device.
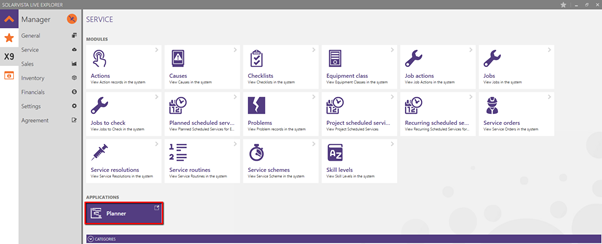
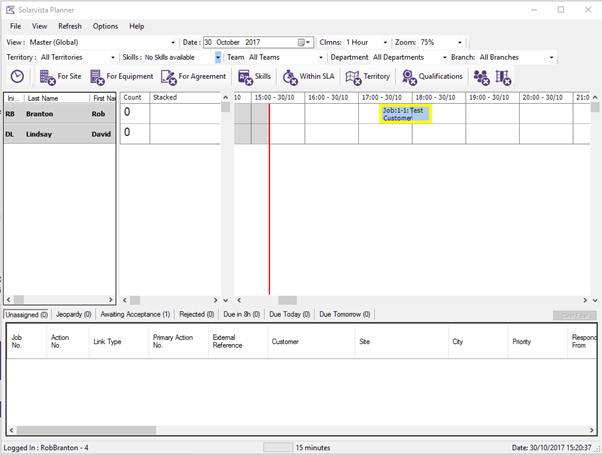
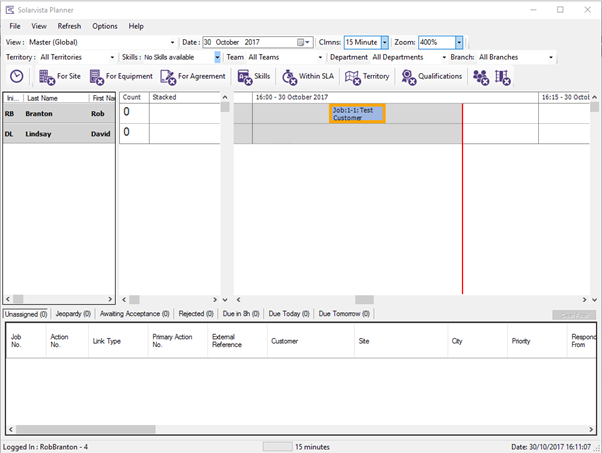
Once the job has been Saved and Closed, the job will be visible in the Solarvista Planner application. This is launched from the Planner icon located in the Favourites or Service menu options
A global planner view is provided within the application and is used by default, this shows all engineers that have been set up in the left-hand side pane, and jobs to be planned, including the one that has just been created will show in the bottom pane of the planner application.
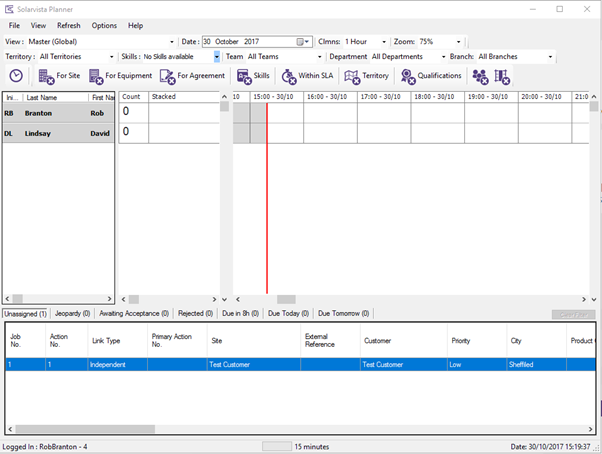
The job information can be viewed by scrolling to the right of the job pane. The job is planned by placing the cursor anywhere on the job line, hold the left mouse key down and drag the job to the relevant engineer stack or diary view. The stack is a list of un-appointed jobs with engineers, the diary is a list of jobs that have appointments and is shown with date and times in the column headings. The times show the scheduled arrival and expected completion times of the job represented by the start and end of the job graphic. The colour and border of the job graphic represent the Job Category and the status of the action, this will change through the job progression through the statuses.
Viewing the job details on the mobile device.
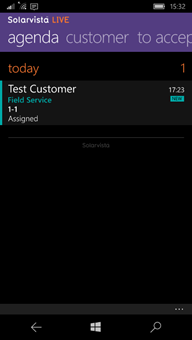
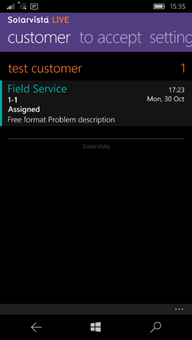
When the job has been planned, it should appear on the mobile application very shortly. There are 3 screens at the highest level to view skeleton job details, the agenda screen show jobs by date order, including an unscheduled heading for jobs with no appointment. The customer screen shows jobs by Customers, the to accept screen shows jobs that have not been accepted by the engineer.

It is possible to drill down into the job and view further details by clicking on the job details shown on any of the 3 screens above.
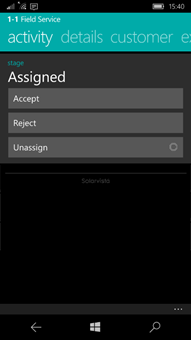
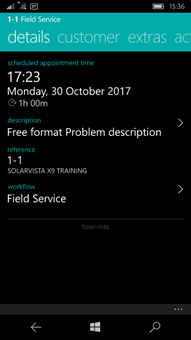
There are four screens at this level, activity, details, customer and extras the content of each of these screens is shown below. When icons or arrowheads are shown on the screens more details are available by clicking the icon or arrowheads.
Activity screen - shows allowed actions
Details – shows more job details and allows the user to see workflow statuses and activities.
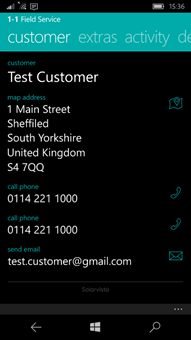
Customer – shows address contact details
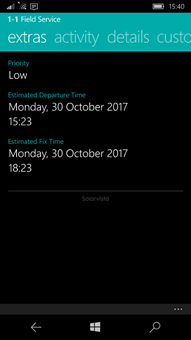
Extras – shows job priority and timings
Using the customer communications options on the mobile device.
It is possible to use the mobile device functionality to contact the customer by touching the icons or details adjacent to the icons.
Note. These communications options are for the engineer to call, email or get a map or directions to the address using the mobile device inbuilt functionality. Use of these options IS NOT returned to the Solarvista Live Explorer.
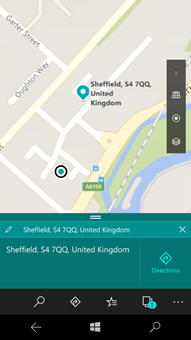
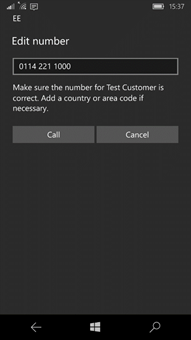
Map/directions functionality
Telephone functionality
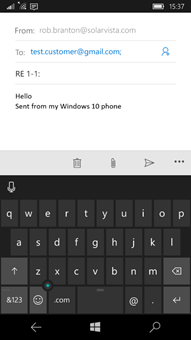
Email functionality
Reporting on the job using the mobile application.
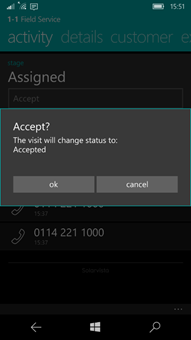
When an activity is carried out on the SV Live mobile application, it is recorded against the job. Status changes or transitions and job activities are sent back to the Solarvista Live Explorer at various times depending on their configuration. The example below shows a status update of a job from Assigned to Accepted by touching the Accept option on the activity screen.
The status and activities allowed are defined in a workflow, there are 3 basic workflows defined within the Solarvista Live Explorer application, further workflows can be created and customised to meet your specific business requirements.
The status updates follow a logical job progression
1 Assigned
2 Accepted
3 Depart
4 Begin Work (Arrived)
5 Return (finished work)
6 Close (finished travel home).
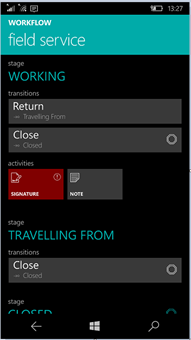
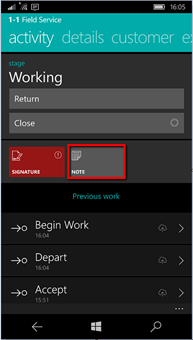
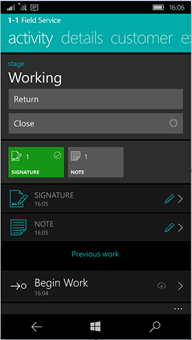
The allowed transitions and activities are defined at each stage in the Workflow.
in this example, the transitions of Return and Close are available at the Working stage. The activities of Signature and Note are also available at the Working stage. The Signature is a mandatory activity signified by the colour, the Note is optional.
At the end of the Workflow, there is a key to explain the relevance of the symbols on the transitions and activity icons.
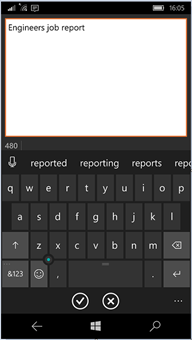
Activities are used/opened by touching the relevant icon, e.g. Note, this open a screen to capture the relevant information required. In the note example, a screen is opened with the free format text box for the engineer to enter their visit report, the device will allow the use of its spelling and other features to assist with the information entry. A full list of the available activities can be requested from Solarvista and it is also possible to have custom activities constructed by Solarvista Software Limited.
An example of a Note activity opening and its completion. Accept and cancel operations are shown at the bottom of the screen.
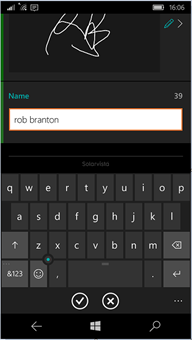
An example of the Signature activity opening and its completion.
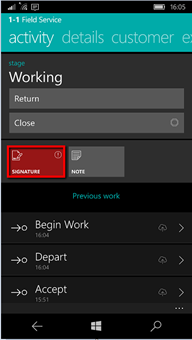
Once an icon has been opened and information saved, the activity icon is updated as follows:-
- Mandatory activities change colour from red to green (signifying it has been done)
- The icon shows the number of relevant records for that activity.
As the job moves through its various transitions and the engineer completes the mandatory and optional activities as necessary, these are time-stamped and recorded within the application until they are synchronised with the Solarvista Live Explorer. It is possible to review these from the activity screen on the relevant job, (see examples of activities and transitions for job no 1 -1. More details can be viewed using the arrow symbol at the right of the relevant line item.
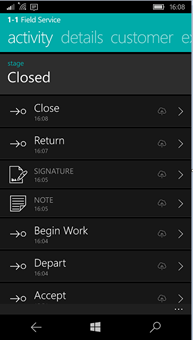
It is possible to amend the information in the activities until it is synchronised with the Solarvista Live Explorer, the pencil icon against the note and signature activity indicate the activity can still be amended. Alternatively, the cloud icon next the transition updates indicates the information has been synchronised with the office and cannot be amended, but it can still be viewed.
Viewing the completed job in Solarvista Live Explorer.
Once a job has been completed on the SV Live mobile application, the planner shows this as the job graphic is to the left of the Planner – Now line.
The job will now be in the Jobs to check view if it is completed, and no longer in the Job actions view.
The job can be opened from the above view and the job status and action status have been set to Completed.
The engineers visit details are available from the Activity tab on the Job record and is called Field Visit, skeleton details are also shown on the Activity Tab.
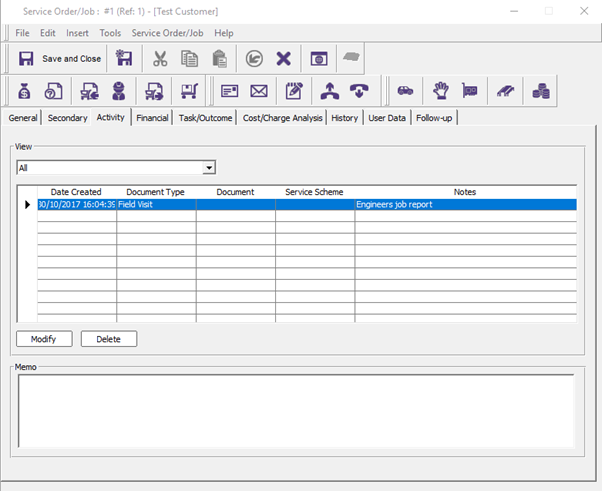
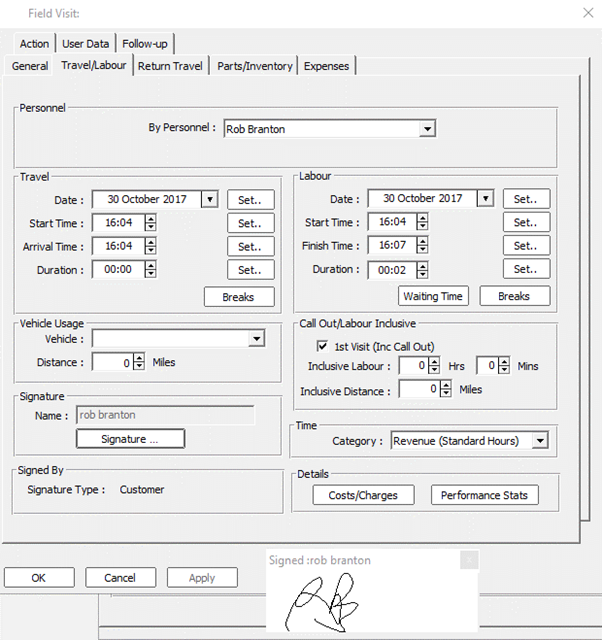
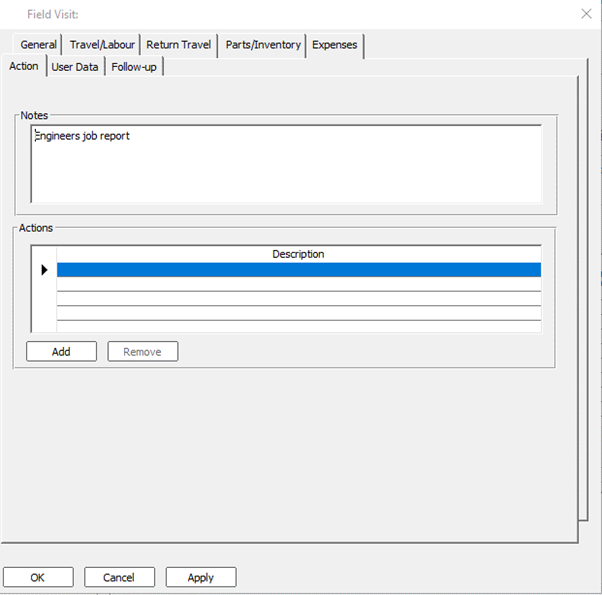
The Field Visit can be opened to view all the details. This is done by highlighting the Field Visit line and using the Modify button. There are various Tabs on this form showing Travel and Labour information, Return travel information, Parts/Inventory, Expenses, Actions and engineers report. This is demonstrated in the following screenshots. There is also a link to open the signature image file.

Generating a charge on the job (Jobs to Check process).
To demonstrate the invoicing functionality, it has been necessary to create a charge against this job, this is normally done automatically from the Service Scheme that is linked to the job. From the open Job record, the Cost/Charge Analysis tab shows the various cost and charge items for any activity.
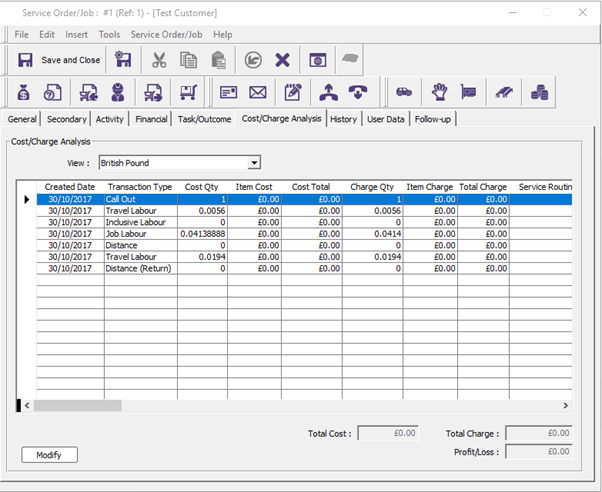
To modify any of the charge information, highlight one of the rows in the activity block (all the rows shown relate to the mobile Field Visit) and click the Modify button. This will open a form to allow any, or all of the entries to have their charge information amended. In the example below the call Out charge has been modified from 0.00 to be £100.00
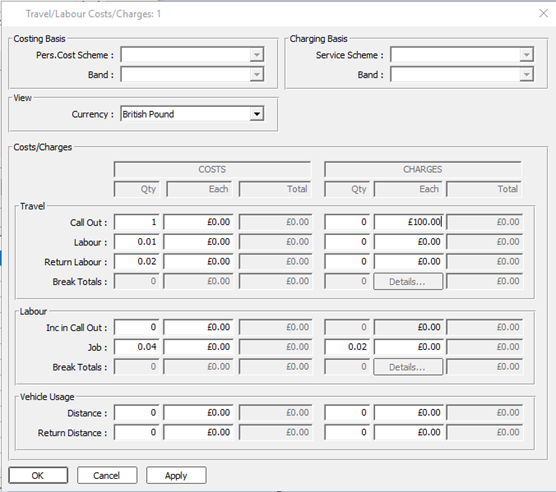
Once the charge information has been amended as required, the information is saved and the form closed by clicking the OK button.
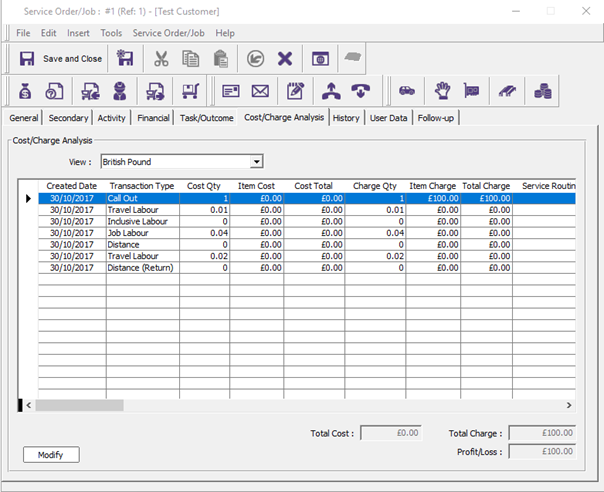
The Cost/Charge Analysis form is then updated and the fields at the bottom of the form are updated.
Processing the job into an invoice.
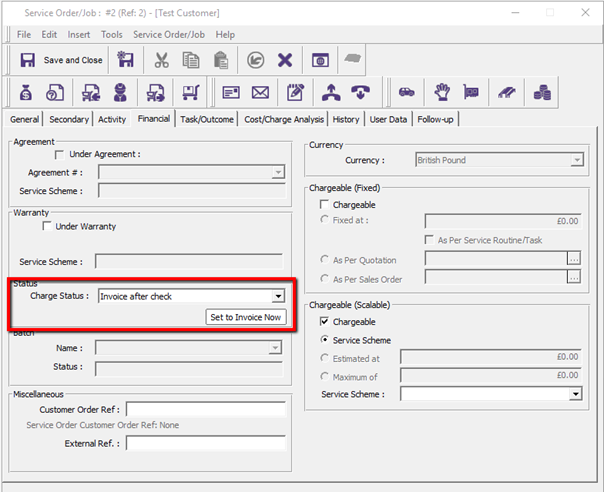
Once the job has been checked to ensure everything is correct, the job can be turned into an invoice, once the invoice has been created the job is locked down so no further charge information can be added amended etc.
The job will still be available on the Jobs to Check view until its Charge Status is updated, this is done on the Job Financial TAB by setting the Charge Status from the drop-down list to Invoice Now or clicking the Set to Invoice Now button, as shown below.
This will update the Charge Status and the job will disappear from the Jobs to Check view and will move to the Financials Invoicing Jobs view.
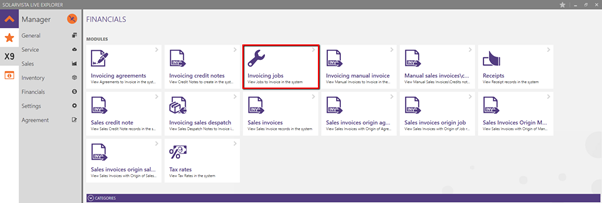
The invoice generation process is a 3 stage batch process controlled from the Financials Invoicing Jobs view.

To generate the invoice for the job, the record is selected (Select Box ticked by a left mouse click while the cursor is anywhere on the relevant row). It is possible to highlight several rows to be processed into invoices at the same time this is explained in the relevant help centre article.

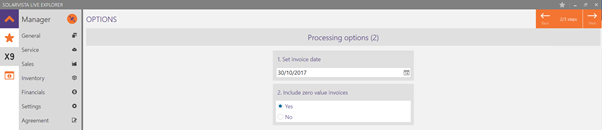
Once the record has been selected to be invoiced, click the Next button. The user then can set the Invoice Date (defaults to current date) and can choose to include Zero value invoices or not. Clicking the Next button will move on to the next stage.
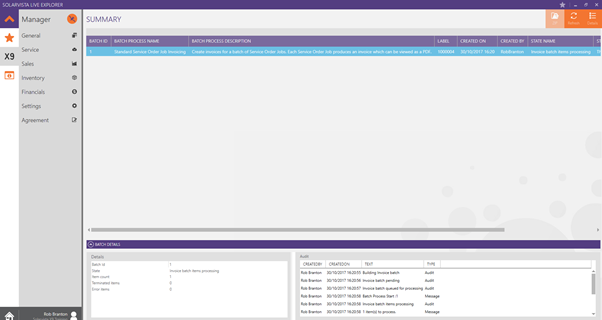
The summary screen shows the invoice(s) that are going to be processed, it is possible to move back to the previous stage if required. Clicking the Finish button will send the batch for processing.

The batch is then queued for processing, the progress of this can be seen by clicking the Refresh / Details button and viewing the bottom panes of the screen, these buttons enable when there is new information available.

When Details are available they are displayed in the bottom panes of this screen. This screen can be closed if required and the batch progress can be viewed later by using the General Tab and the Batch processing view, this uses the same Summary screen shown above/below.
Once the processing is complete, the Zip button becomes enabled, this is used to download the invoices to a local folder or drive.
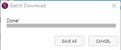
Clicking SAVE AS will open a Windows Explorer window for the user to navigate to where the batch zip file will be saved.
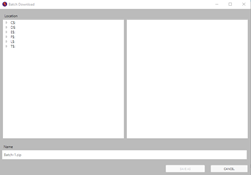
The zip file can then be extracted and will contain a pdf file for every invoice in the batch, these can then be printed, emailed out etc.
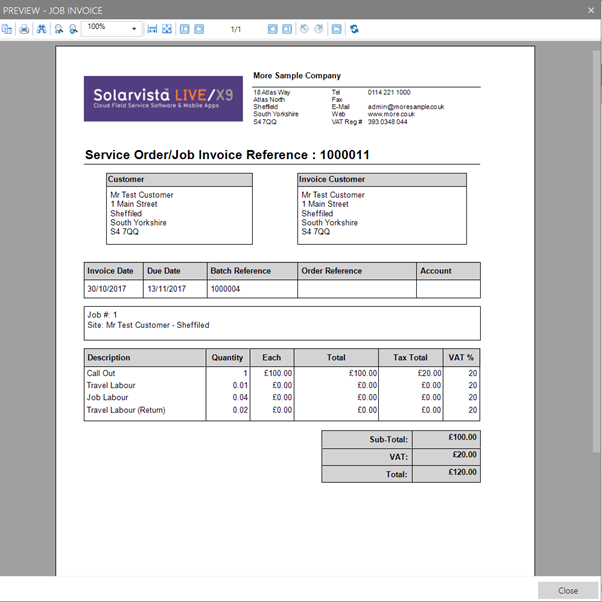
Printing/exporting the invoice.
The invoice can be reprinted or exported, if required by using the Financials taskbar and Sales Invoices view.
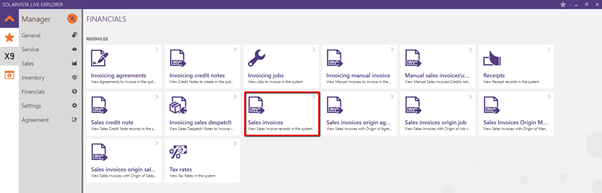
This opens the view below, the export function is used by highlighting a single record and click the PDF or the Export button.

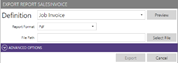
PDF button response, including a Preview option and different format options.
Export button response

Both these actions open a Windows Explorer window for the user to navigate to where they want to save the PDF/Export file.
An example of the standard Invoice PDF output is shown below.