Accessing Personnel records.


Personnel records are created and managed from the General item on the Manager taskbar.
Add new Personnel record
Personnel records can be added by selecting the New icon

When selected, a blank Personnel form will be displayed
General

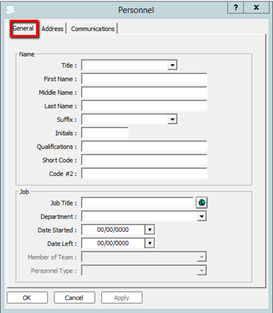
Enter the Name and Job details in this form
Address


Enter the Address details in this form
Communications

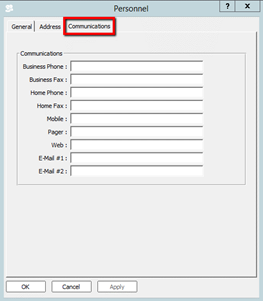
Enter the communications details in this form