Associated Feature(s):
- FEA016 - Create work/service orders.
Within Solarvista X9 there are multiple methods to log a Work / Service Order (job). We will cover the main ones here.
The best method to use may depend on what information is provided by or is available on the request for the work. This could be either verbal , via email or electronic alert etc.
Method 1
This method is best used when there are multiple work requests at the same site, these can then all be linked under a single Service Order and if necessary concluded with a single invoice.
Navigate to the service Menu and select Service Orders
Select New from the top navigation menu

The first pop-up window is to create the Service Order which you can then associate with one or more jobs. 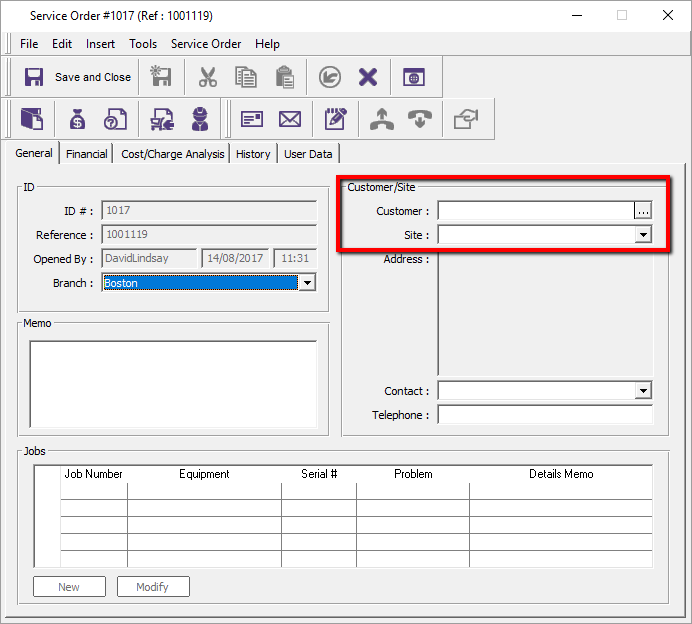
First of all, click the 3 dot menu next to the customer field and select the customer in question.
TIP: Right click the column heading and select find to make searching large lists easier
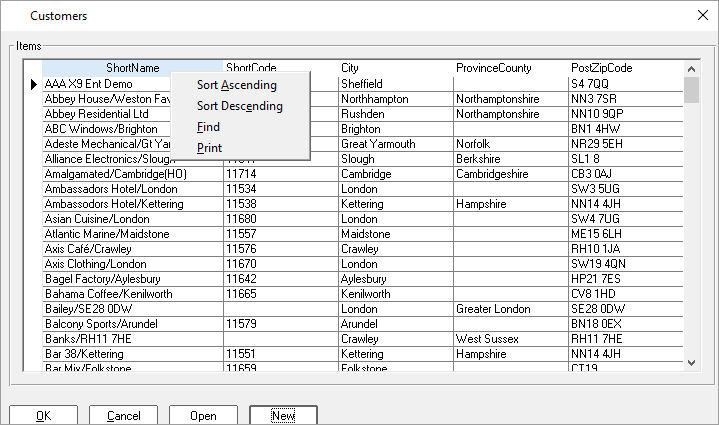
Once you have highlighted the customer, click OK to add this information into the Service Order.
If this customer is a single entity, i.e. not a parent/child situation the customer and site will both be populated with the same details, However, if there are several sites linked to the customer the list of sites is displayed by opening the list control in the site field to select the correct customer site (work site).
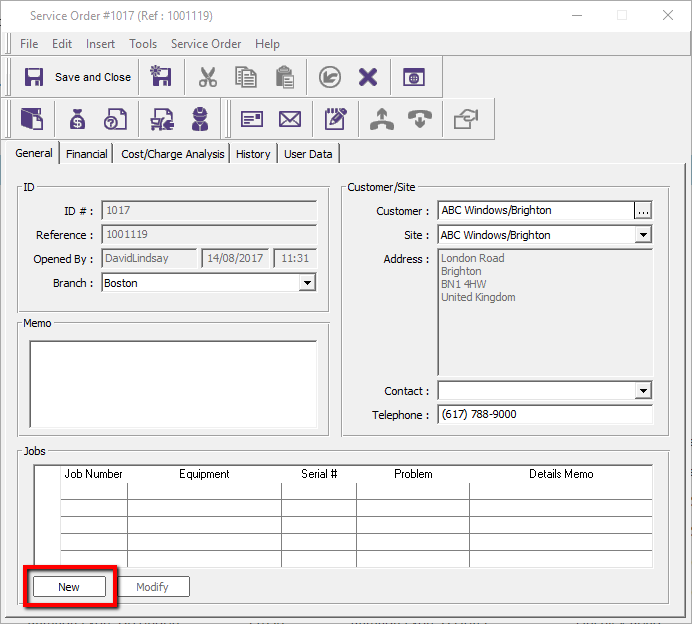
Next click New to add a Job to the Service Order.
Complete the rest of the Job details from the information available :-
- Client Contact details - these can be added if necessary by using Tools > Add,
- Select correct job category if different from default,
- Select Equipment or add using ellipsis, this displays a charge options popup if relevant
- Add Problem details from ellipsis and add problem memo (free text) if necessary,
- Add a Service Routine (task list) and select the priority if different from default.
The service levels are calculated based on the service scheme assigned to the job.
It is possible to add a target date for information only to assist the planner in job allocation.
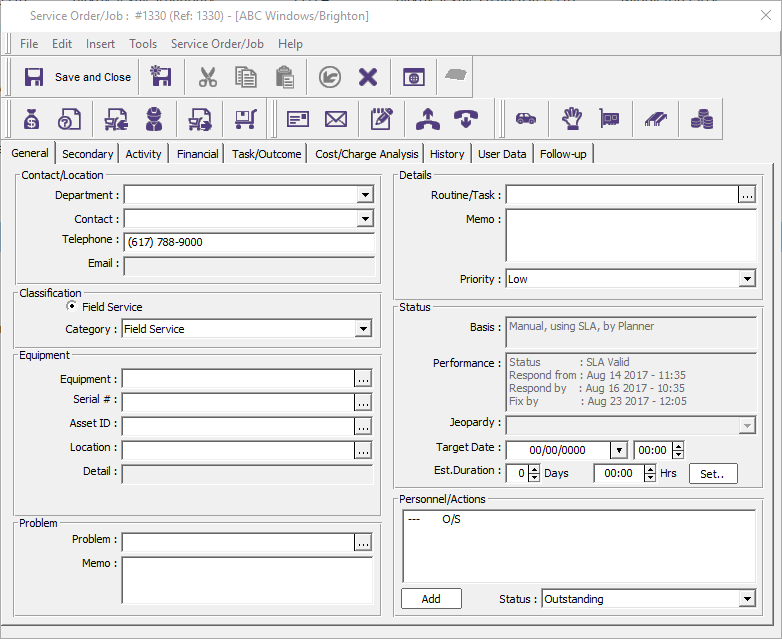
On the Job logging screen you can see the Customer name in the top bar. Enter the details of the Job in the Problem Memo field. This can then be seen by the engineer attending the job. Should you wish the engineer to carry out a set of tasks on the job, this can be achieved using the Routine/Task option in the top right. Please see the guide on configuring Service Routines for more information.
If the Job is for a specific Equipment item, this can also be selected on the left hand side of the Job logging screen
Pressing Save and Close will add the Job to planner for you to then assign to an Engineer
Method 2 - Via Customer screen
Go to General and Customers

Locate the Customer the job is for, highlight and select Open
From the Customer window click File\New for this Customer\Service Order
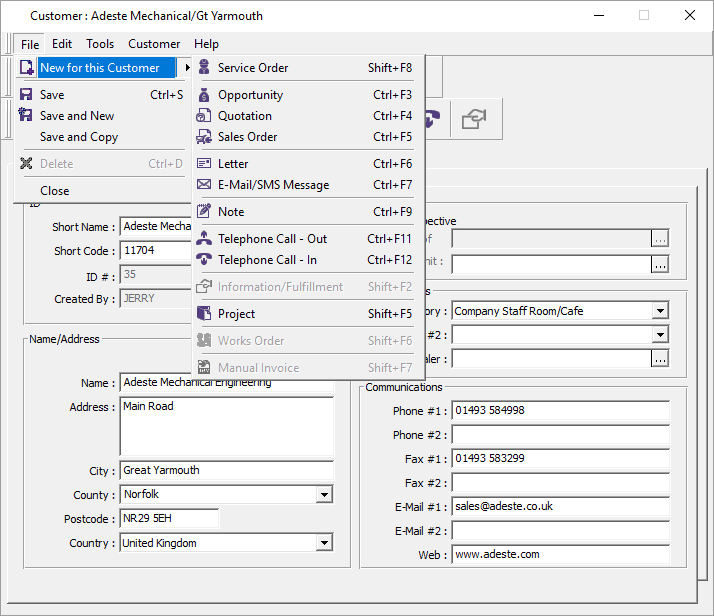
this will open a Service order with this Customer pre-selected. You can then follow Method 1 for the adding of a Job to the Service Order.
Method 3 - Via Equipment
Open the Customer in the same way as Method 2 but then click the Equipment tab
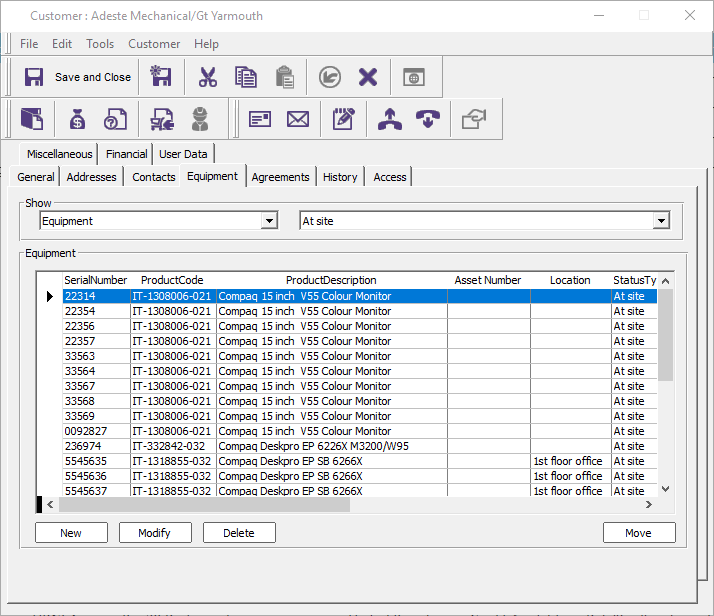
Highlight the Equipment item the job is for and click Modify
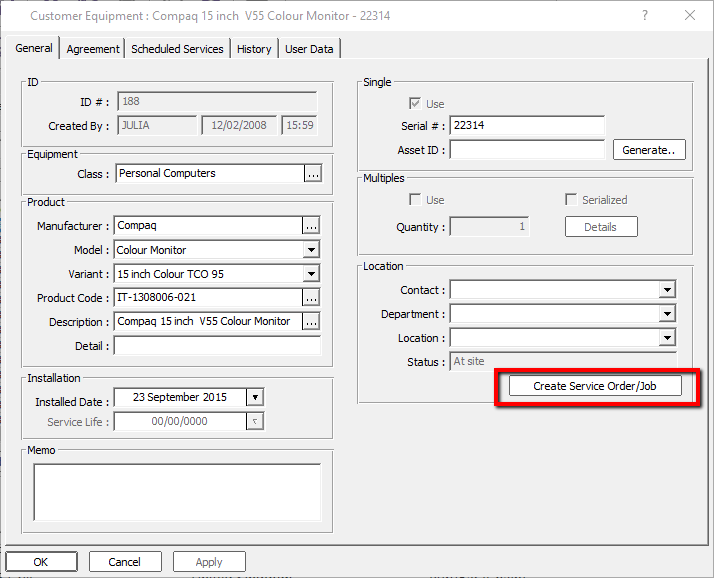
On the Equipment form, click Create Service Order/Job
This Method creates a new Service Order and then opens a window for a new Job. The job will have automatically picked up the Customer information and selected the Equipment for you.