Associated Feature(s):
- FEA055 - Track status of work/service orders in real-time from planning Gantt (or work/service order record).
- FEA056 - Send messages to field-based staff from within Gantt-style planning tool.
- FEA136 - Print documents/reports including editing of definitions/layouts.
- FEA152 - Track their labour time as they work.
- FEA159 - Jobs noted with “New” flag when work is received but has never been opened.
- FEA160 - Jobs noted with “Updated” flag when data is changed that has already been read at least once.
- FEA161 - Receive messages/notifications from Solarvista Gantt-tool planning users.
- FEA162 - Capture signatures from customers.
- FEA164 - Record free-text notes (including voice recognition where device allows).
The process of working through a job on Live Mobile is similar on iOS, Android and Windows Phone. This guide features screenshots from iOS.
Jobs logged within Solarvista X9 appear in the planner. (You can create custom views in planner which may filter out some jobs. If a job is not in the list, it is likely that it doesn't meet the criteria of the filter/view).
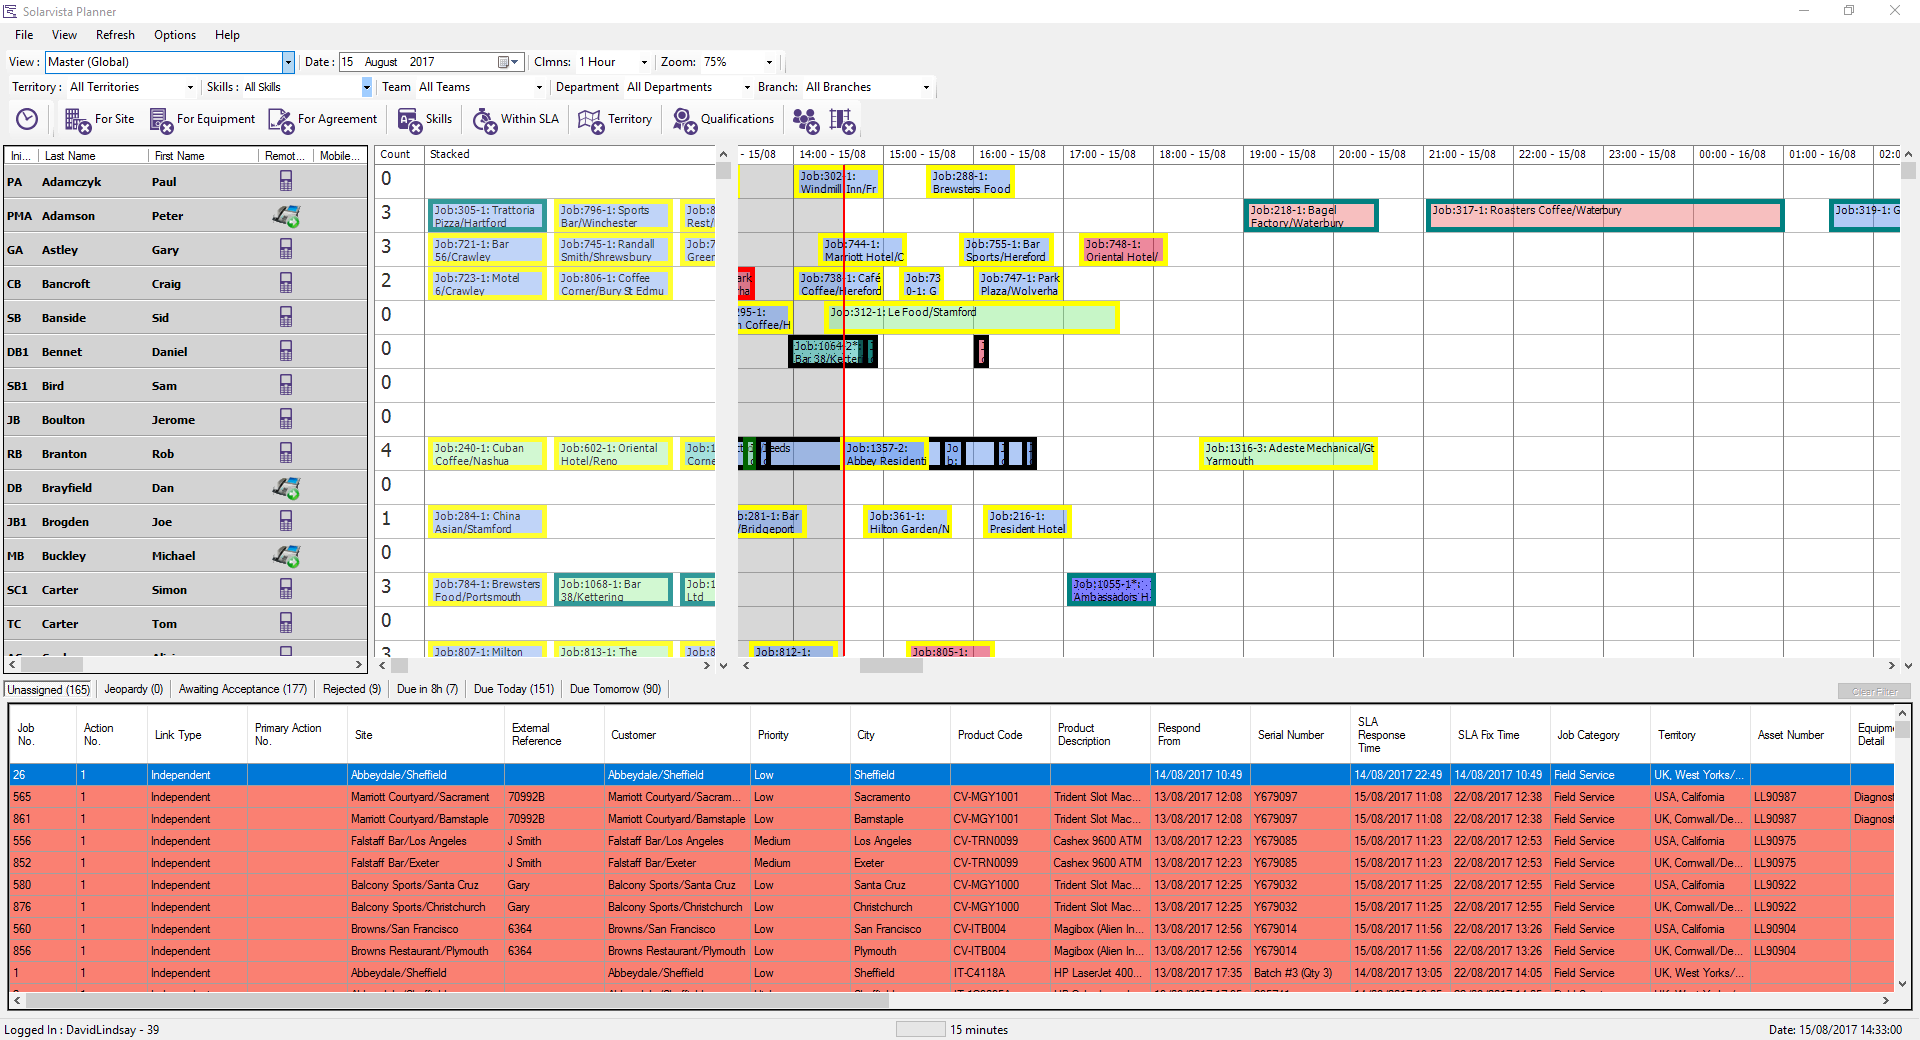
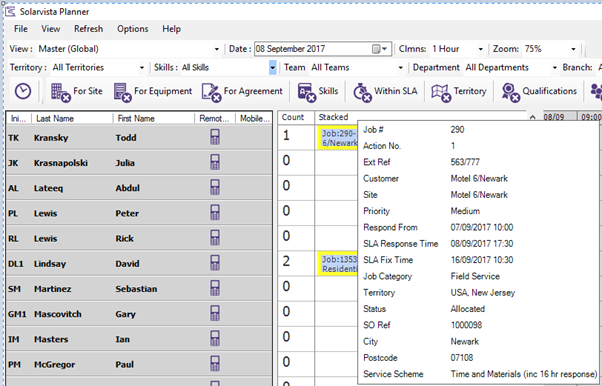
Planner displays jobs in different colours to indicate different job types and also the different stages the job is at by the different colours of the job border. It is possible to quickly see further job information if the View > Hover Details are active and configured. This is activated by placing the mouse cursor over the relevant job graphic and wait a couple of seconds. NOTE. The information displayed in configurable from View > Hover Details menu option.
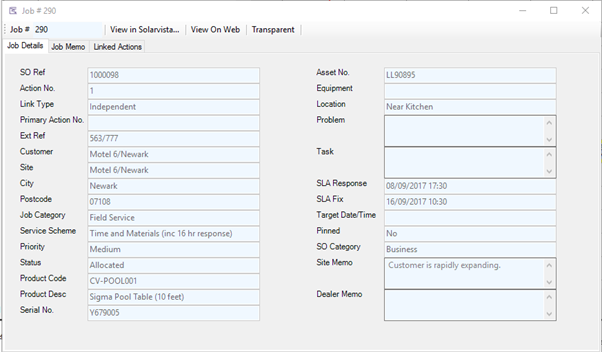
The Planner Job Summary is shown by placing the cursor on the relevant job graphic and right click and select Job Summary.
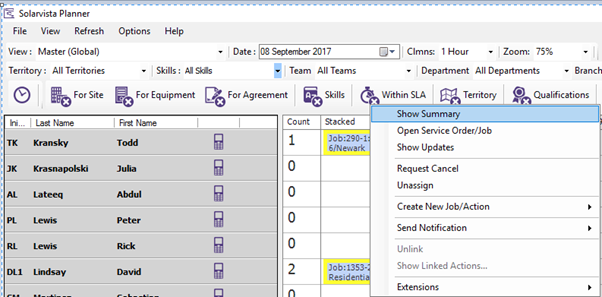
This opens the job summary window with predefined job information, Tabs are available to show Job Memo and Linked actions information.
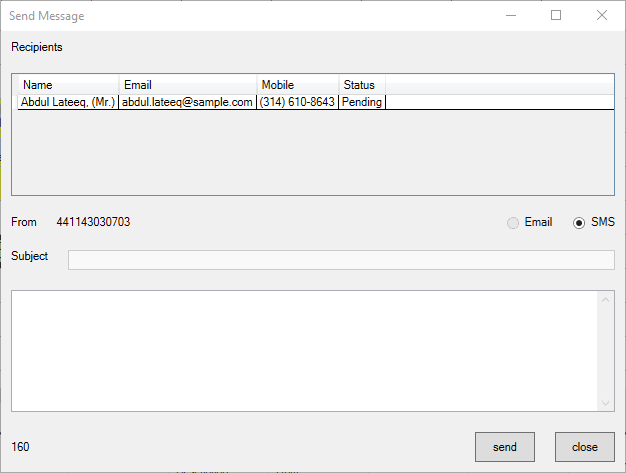
Within planner you have the ability to send notifications to engineers. To do so, right click the engineer in the list and select Send Notification. You can then select the individual or All Personnel in the list

Notifications are send either through Email or SMS (Subscription charges apply to SMS options)
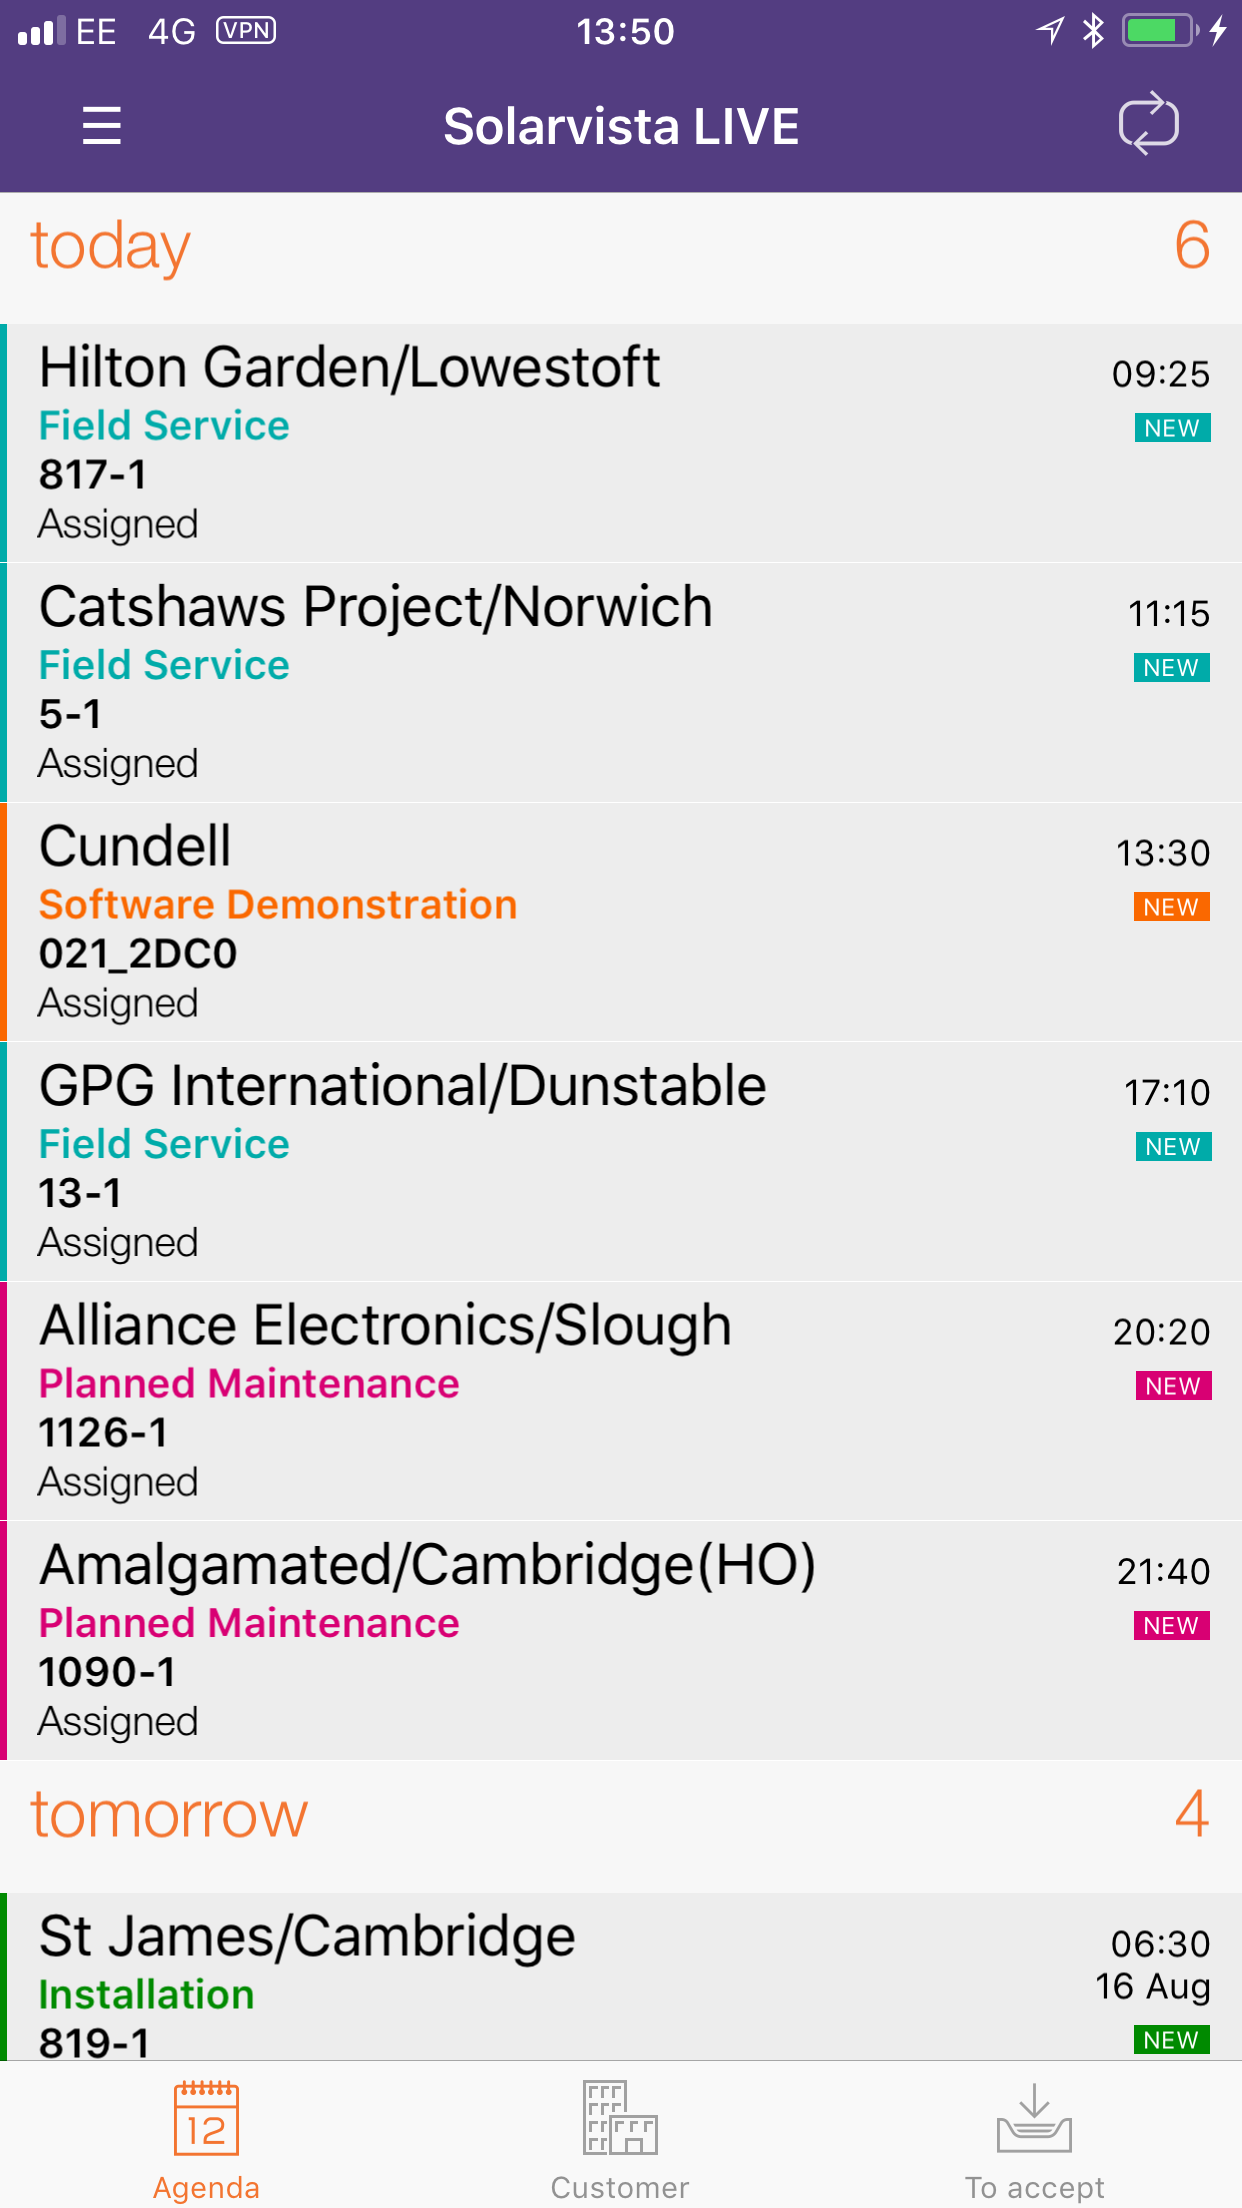
Once a job is dragged onto the stack or diary in planner it will be sent to the engineer's phone. The engineer has 3 view options on Live Mobile; Agenda, Customer or To Accept.
Agenda view displays jobs in a list depending on their due date and time, assigned jobs from the Planner stack (no due date/time) appear at the bottom of the job list under UNSCHEDULED.
Customer view groups jobs per customer
To Accept only shows jobs that the engineer has not yet accepted
New or updated jobs have an indicator under the time on the right hand side of the views
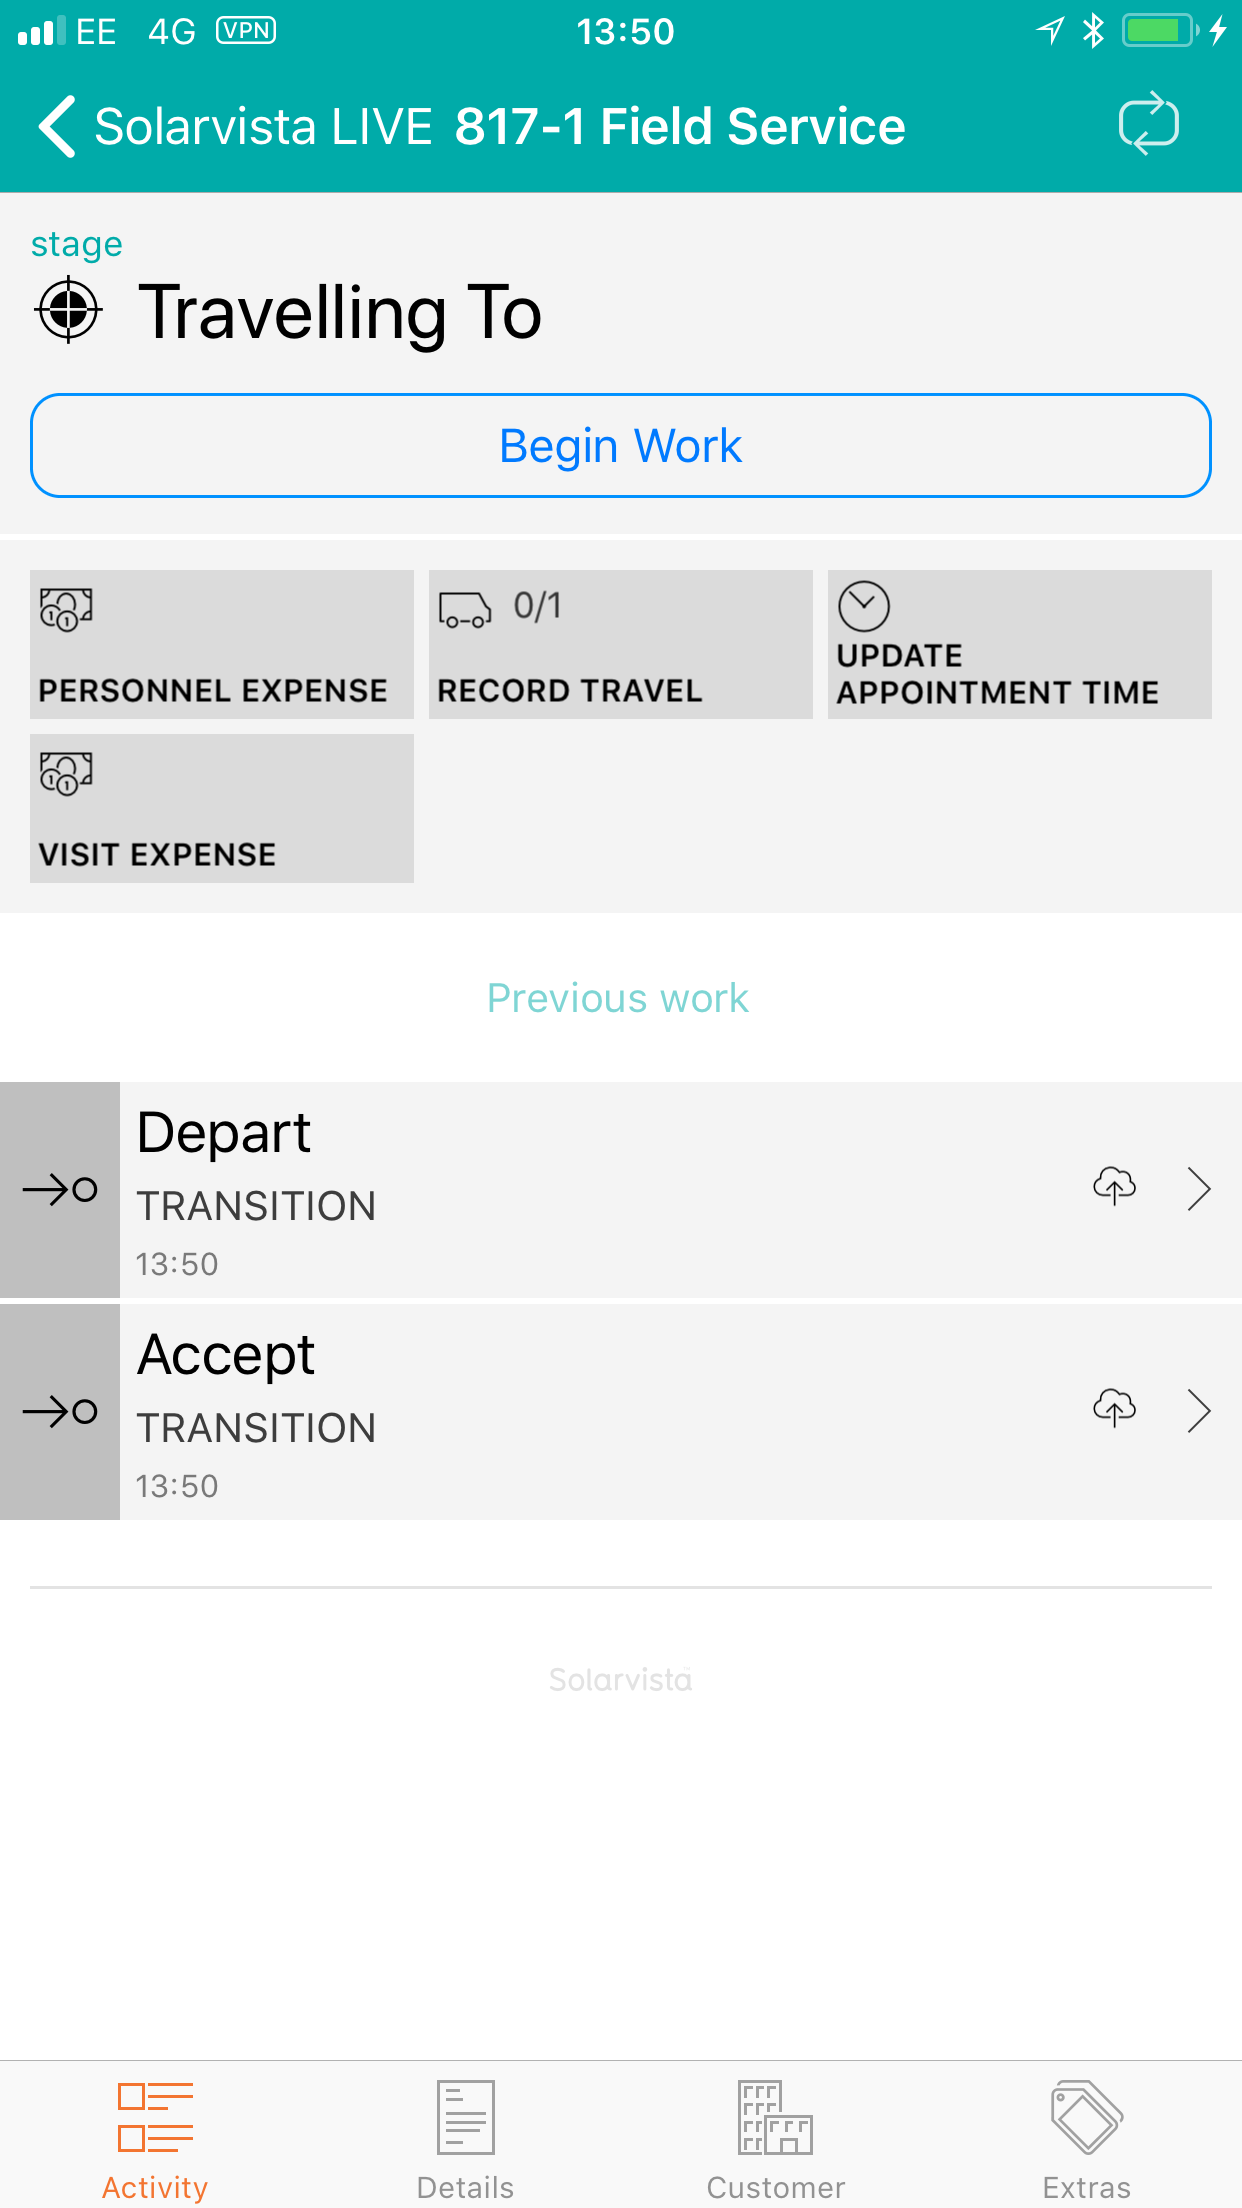
Selecting a job will open the job at the current workflow stage. In this case we are opening a new job so the options we have are to Accept the job. You can also have activities at different stages of the workflow. In this example we have the option to set an Estimated Departure time and record a Personnel Expense.
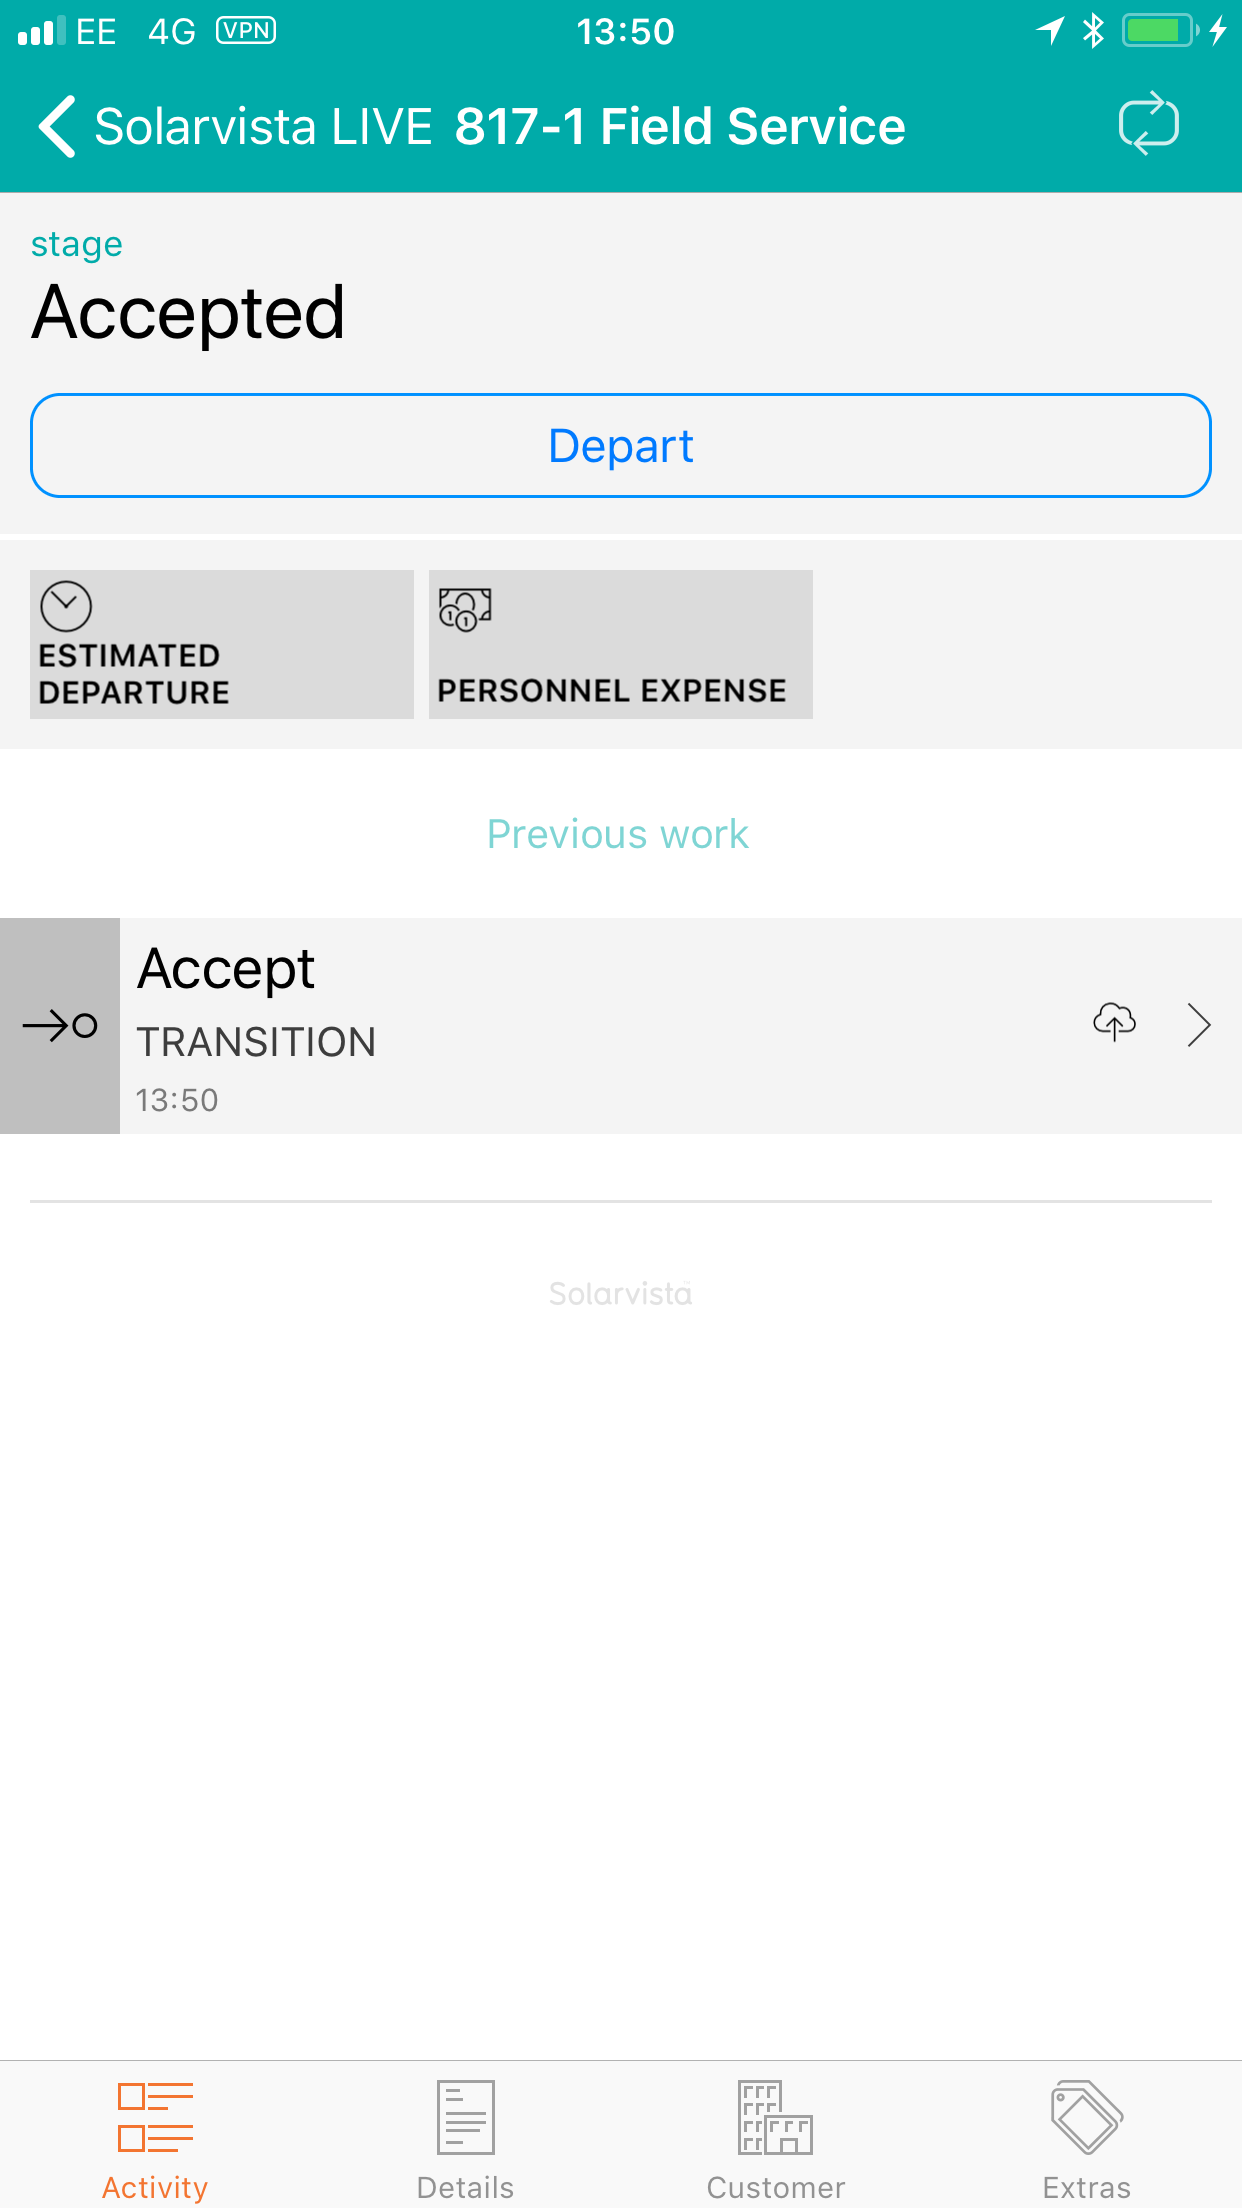
Also configurable on the workflow is the ability to have exclusive stages so that engineers cannot work on more than one job at a time or be travelling to more than one job at a time. Where this is active you will see the following message
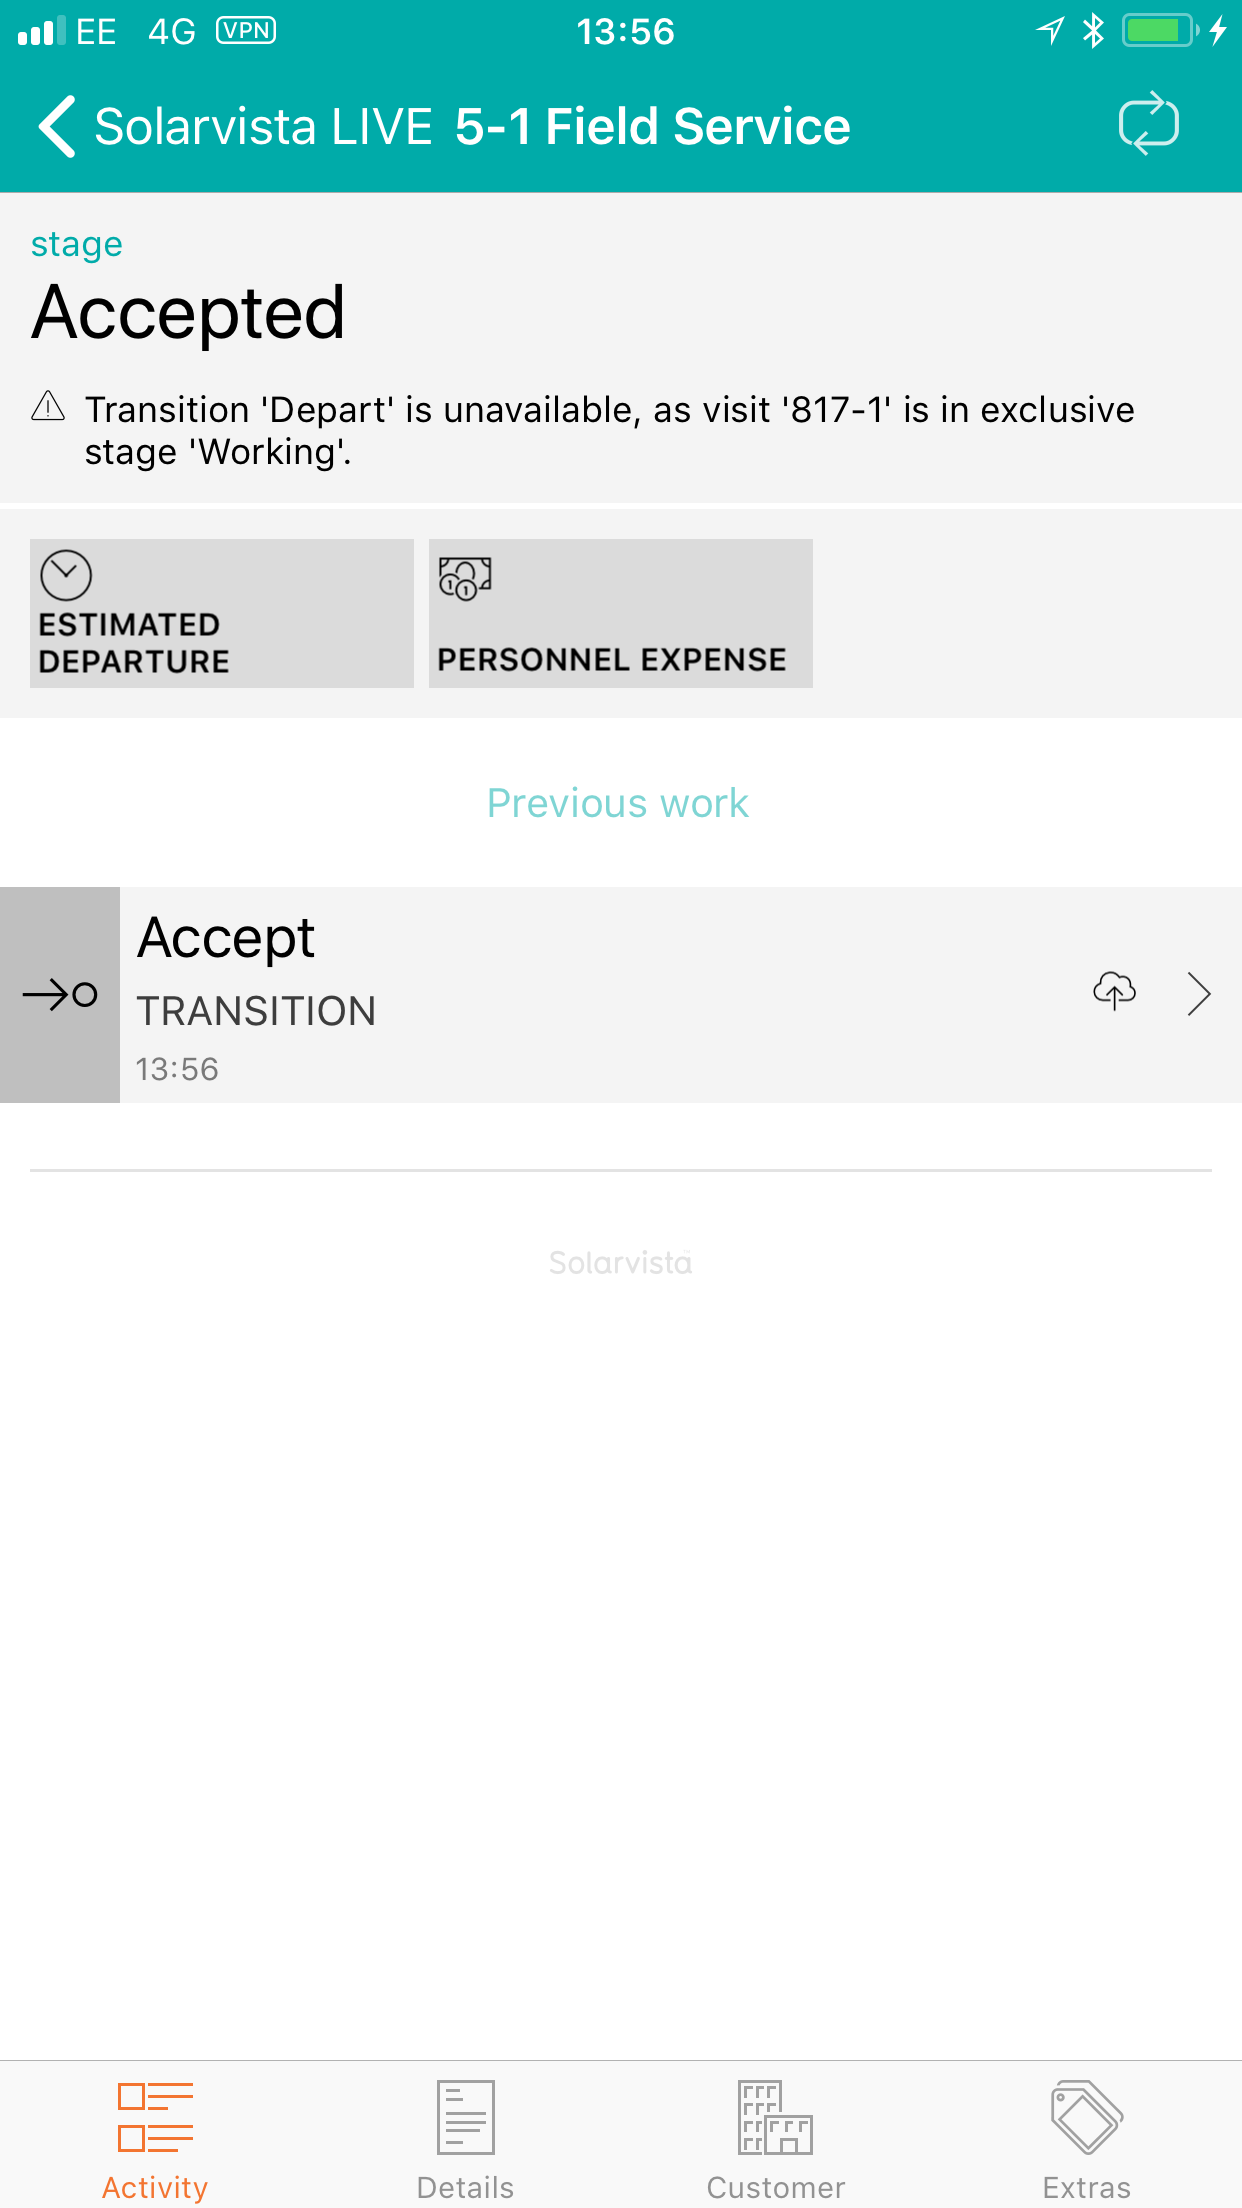
The icon to the left of "Travelling to" below indicates that this is an exclusive stage. The transitions between accepted, departed, arrived/working etc are all time-stamped on the device and synchronised back to the office system.
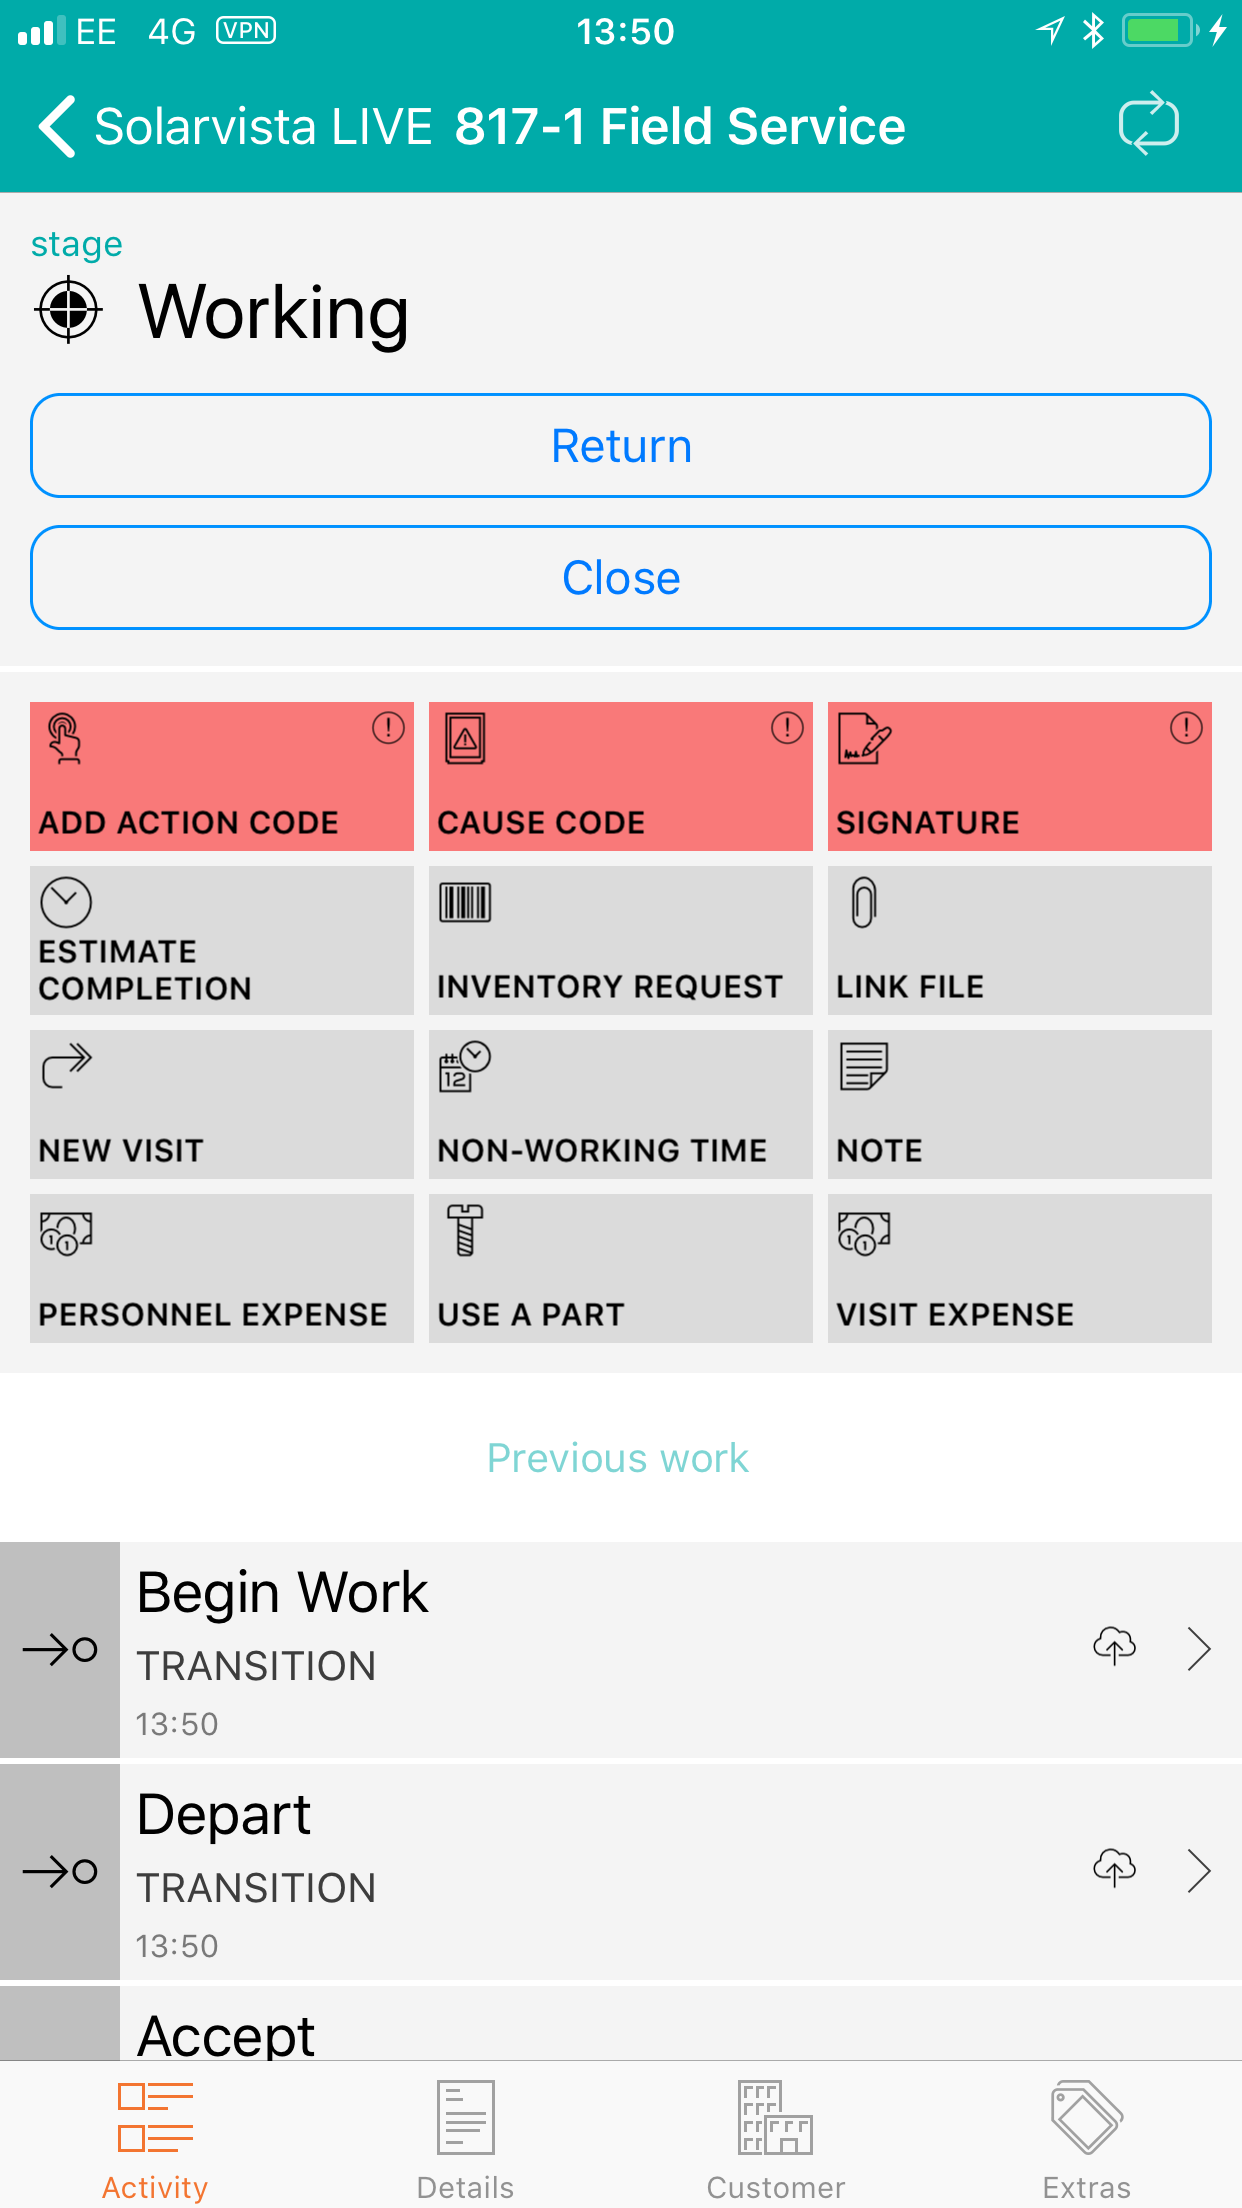
Activities shown in grey are optional but the ones in red are mandatory
You have the ability to record the customer name and signature using this form. As the items are mandatory, they have a red bar along the left of the data field
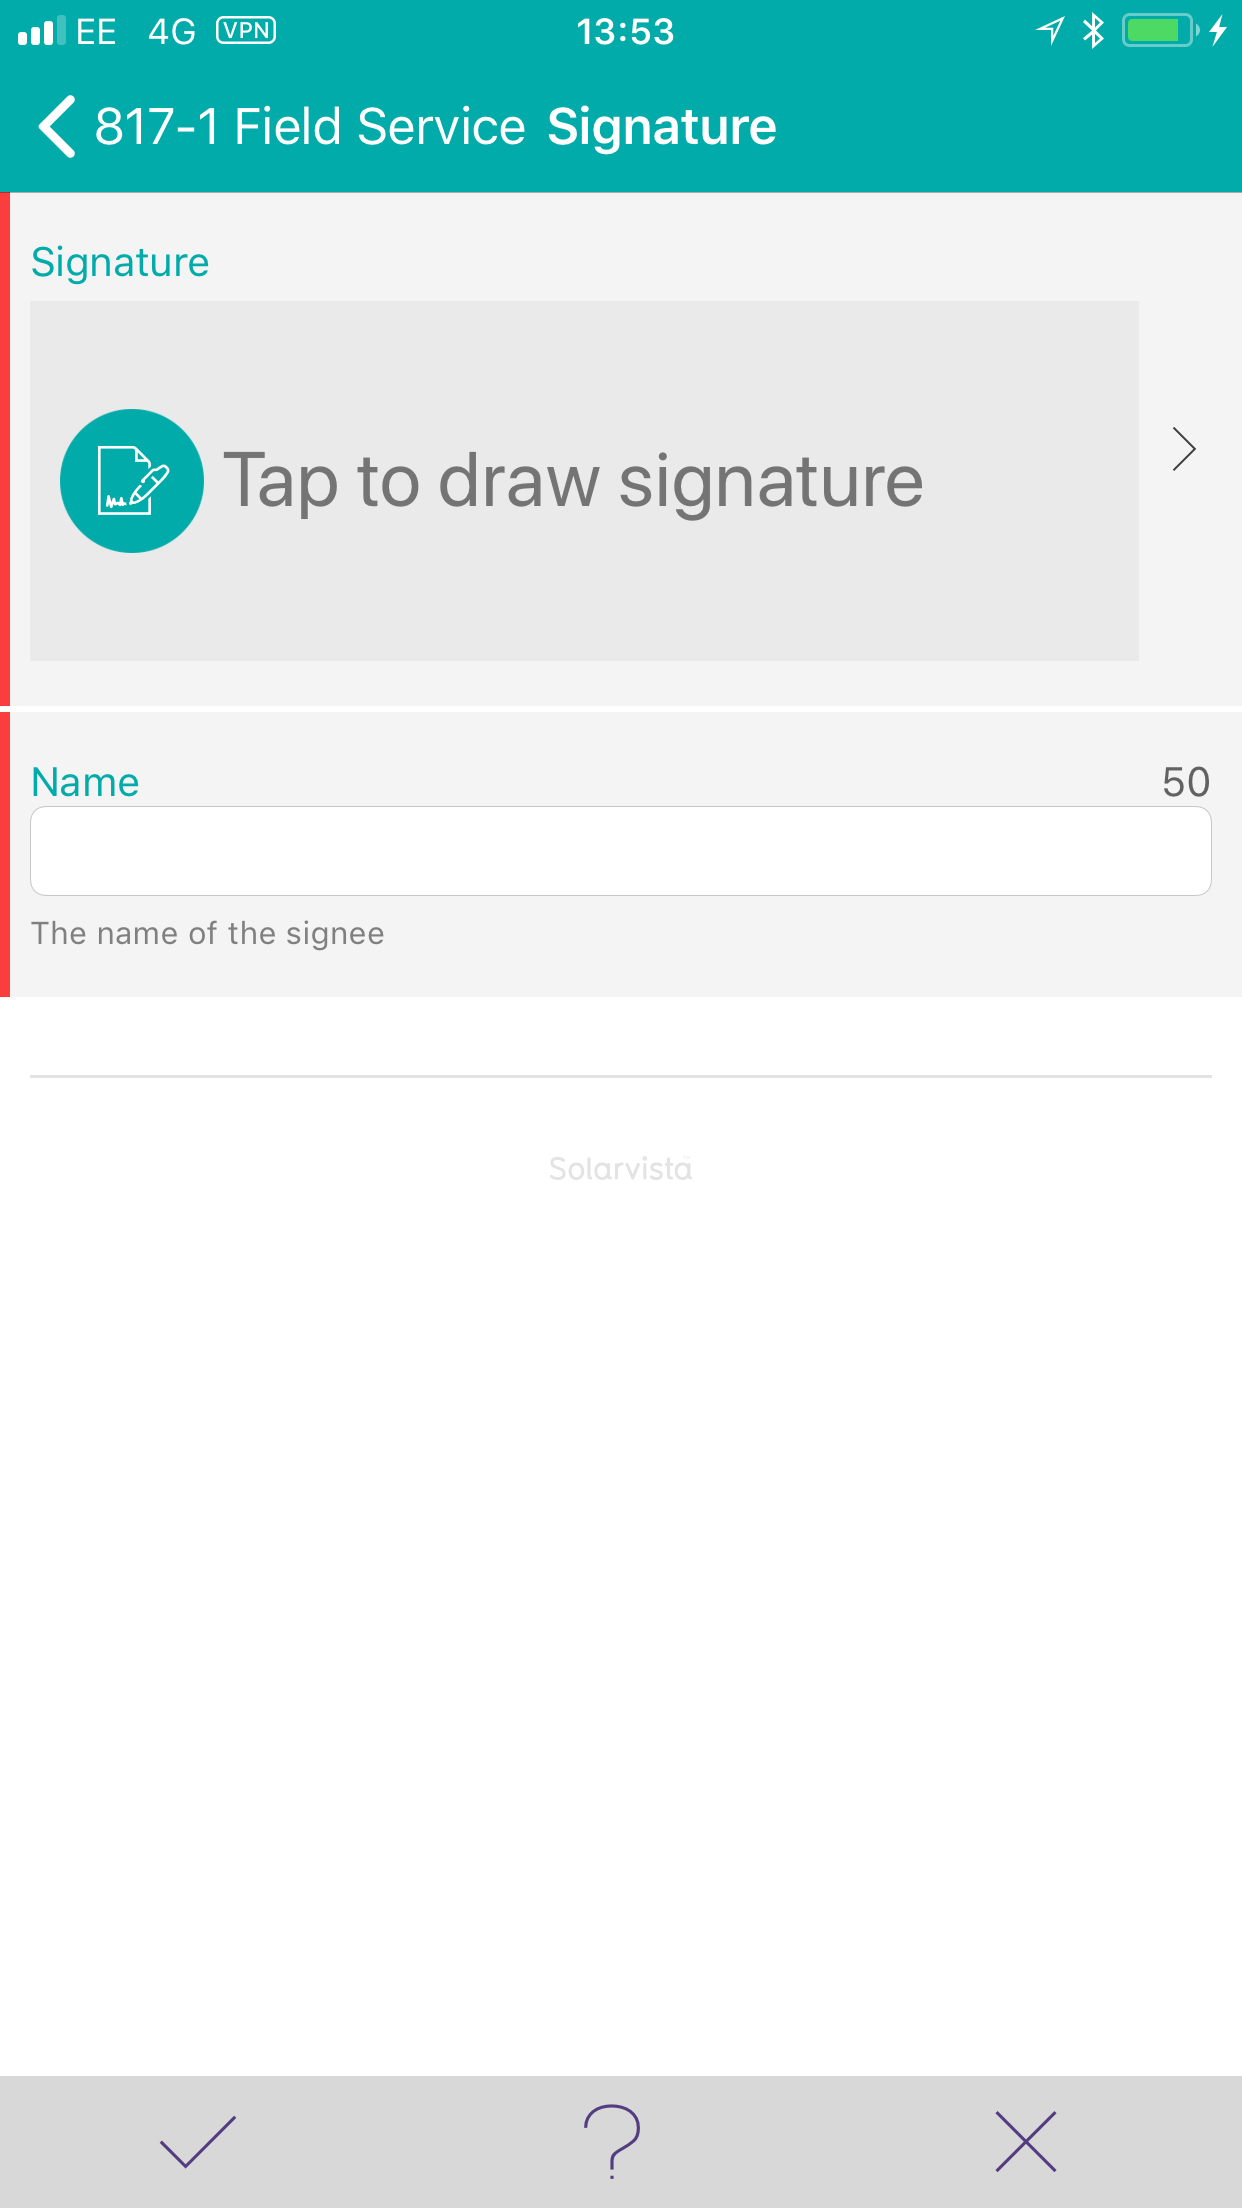
These items turn green once data is entered

The activity button also turns green once complete
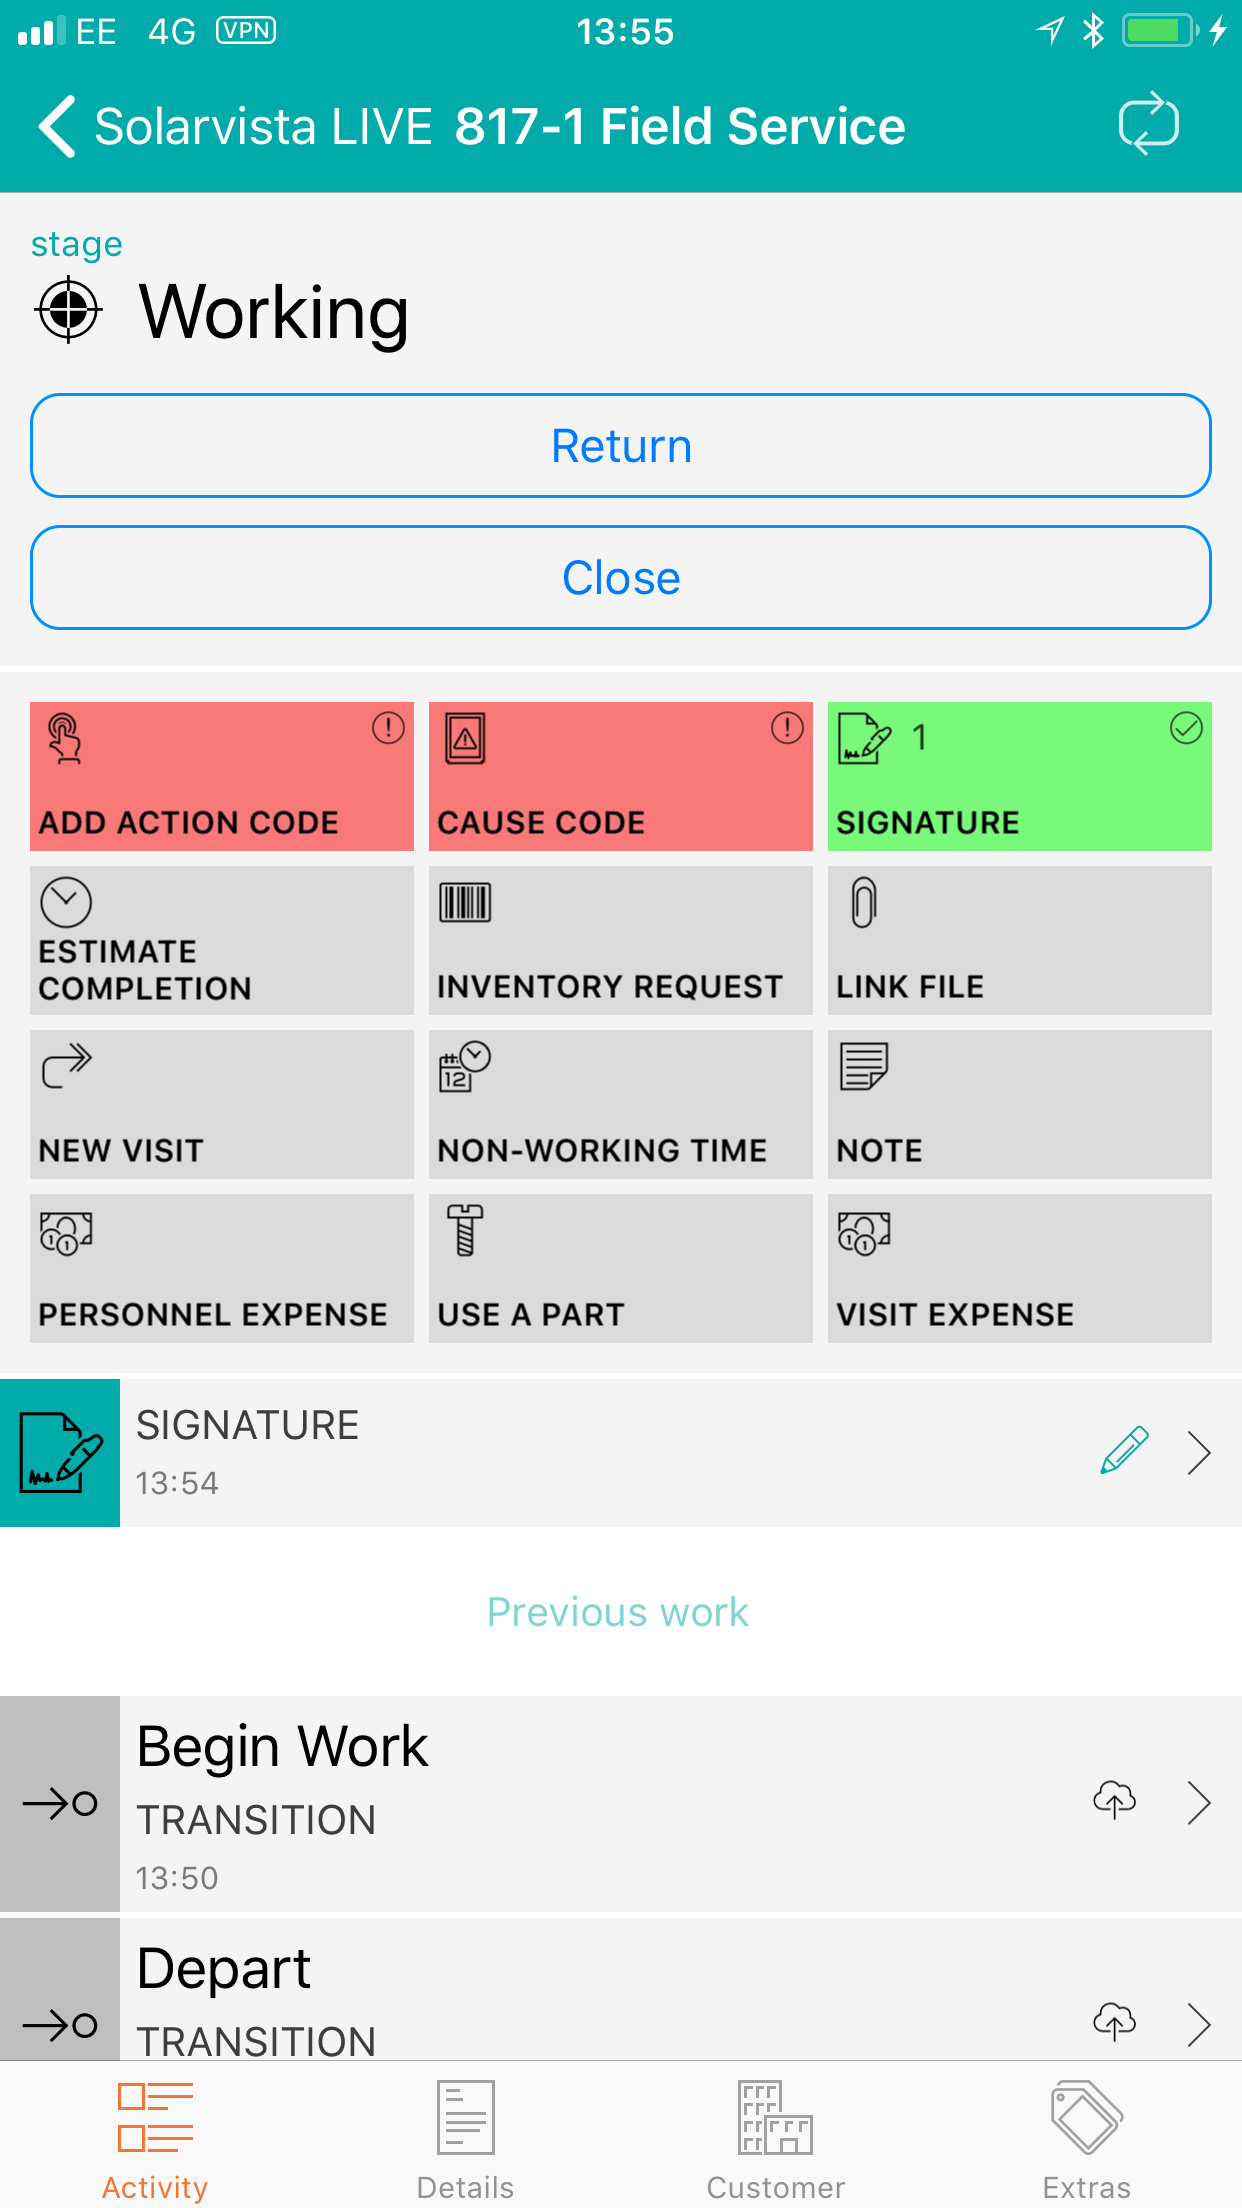
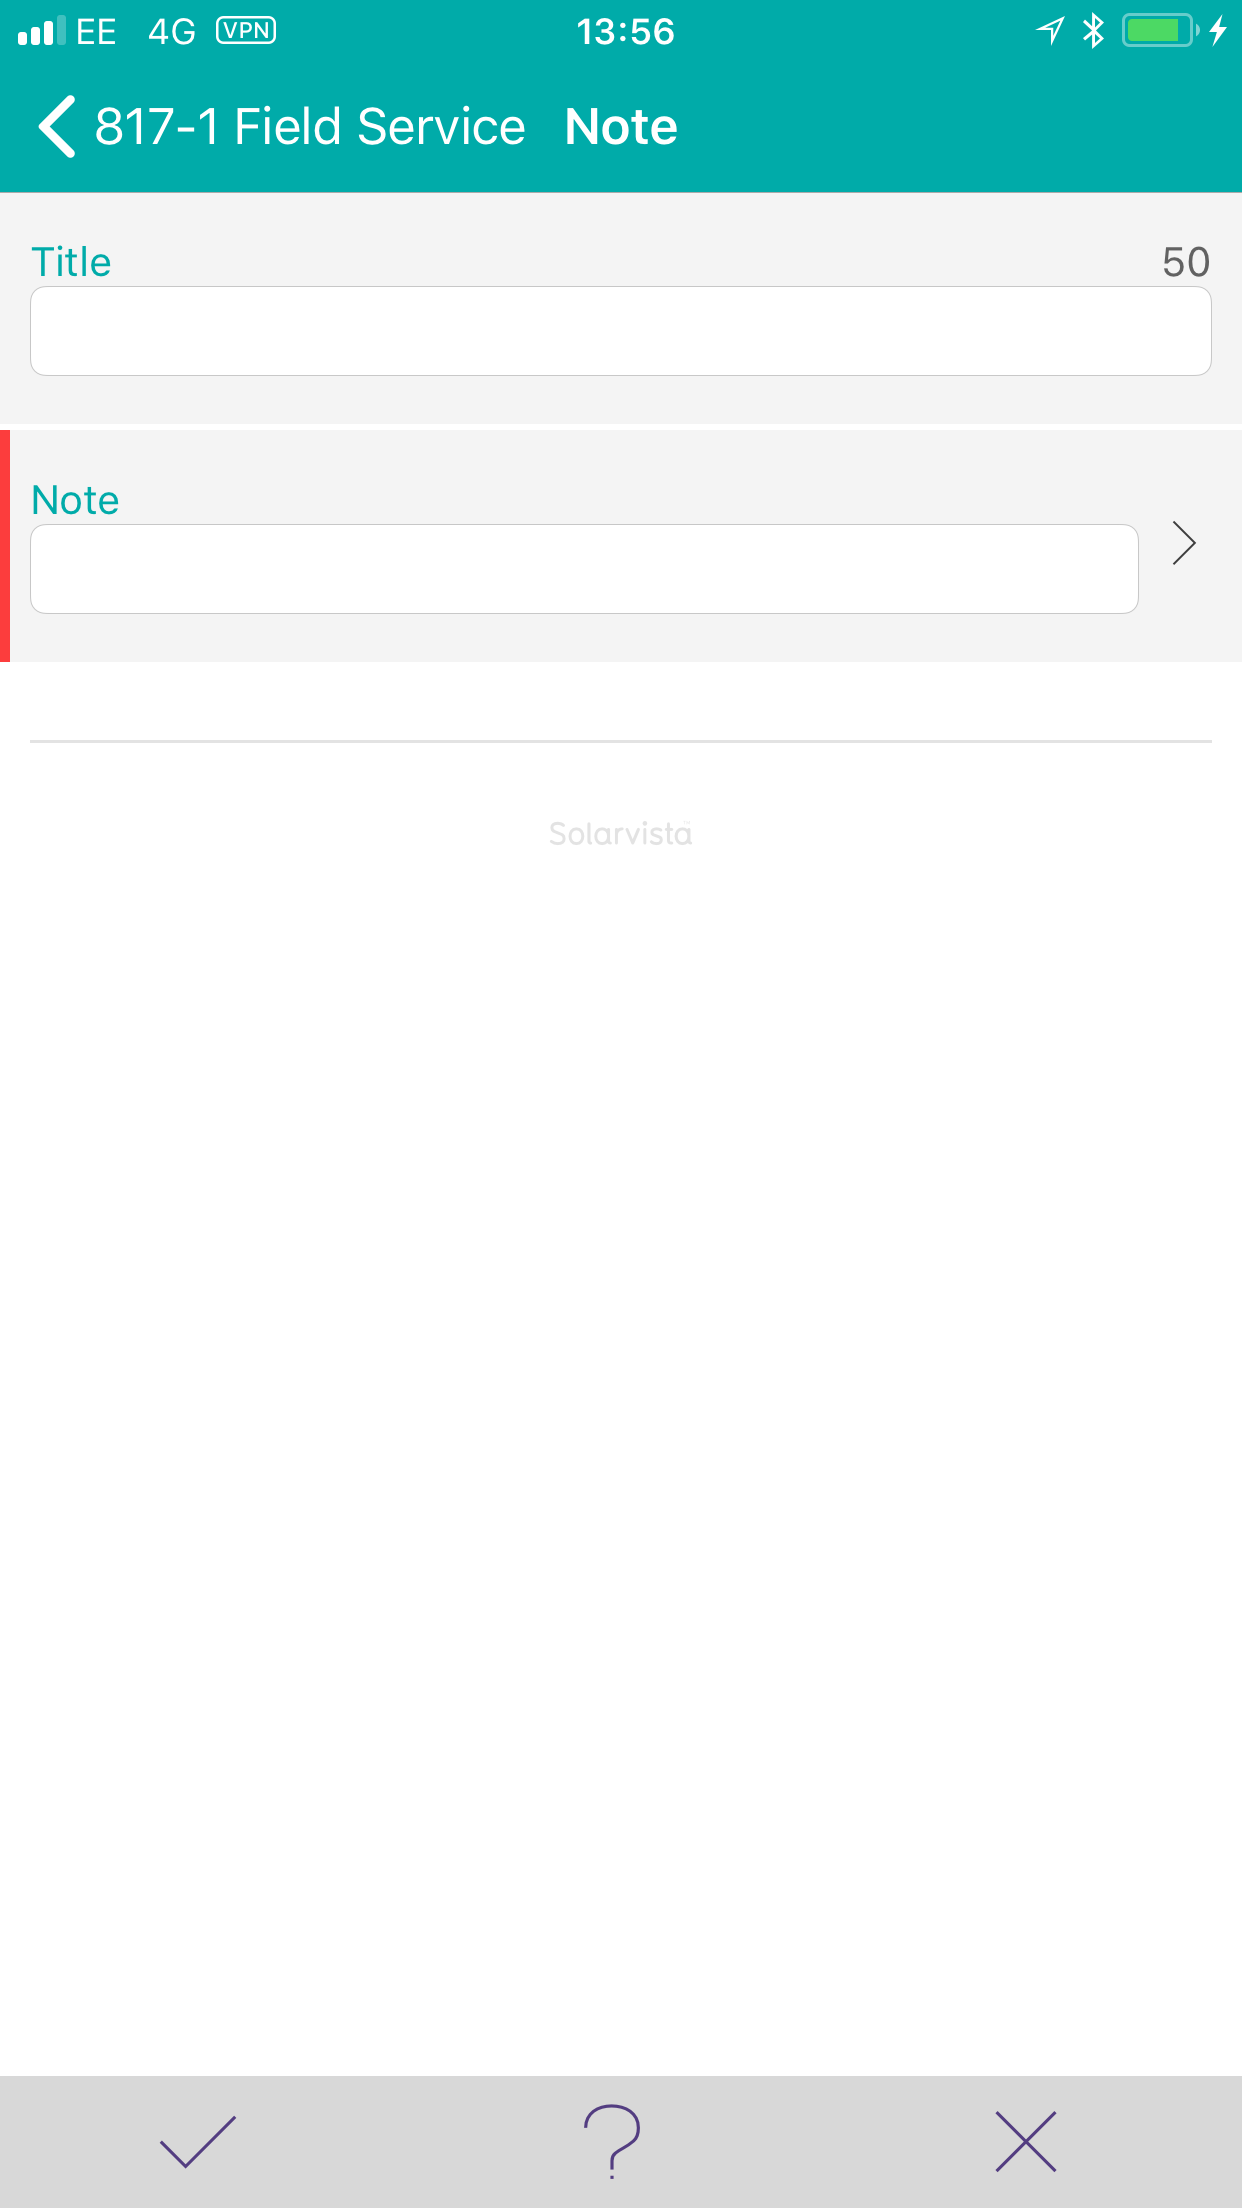
You can record notes on a job using the note activity. You can create multiple note entries on one job
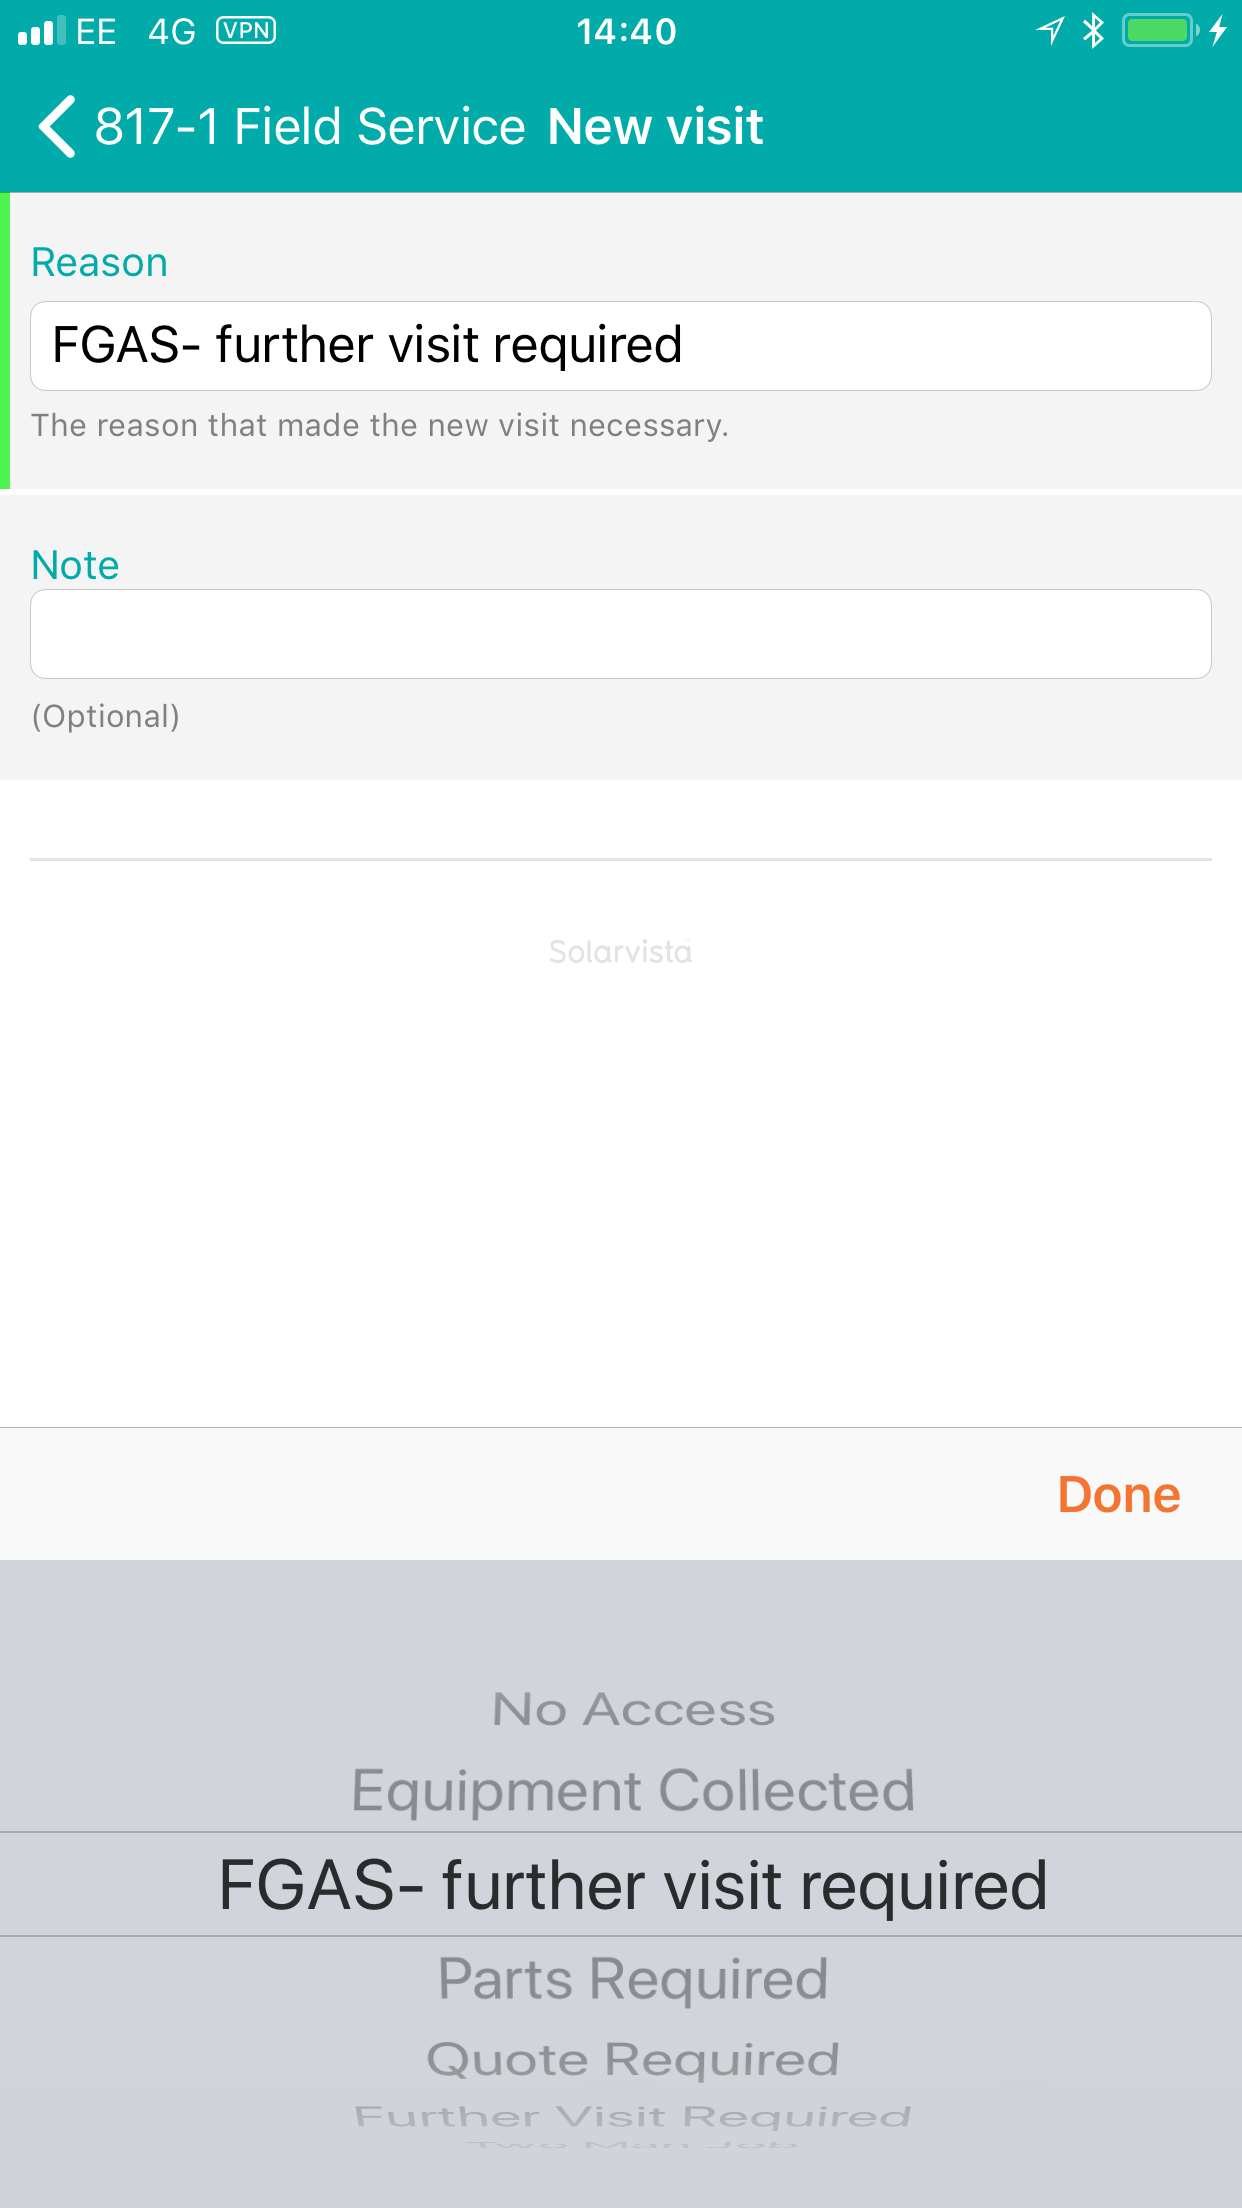
You can also select New Visit to indicate that a return visit is needed. The reason for the return visit is selected from a list that is created in the back office system. You can also add a note here. Once the New Visit is created, you can record return travel or close the job and the job on the back office will have a new action to be assigned to an engineer when needed.
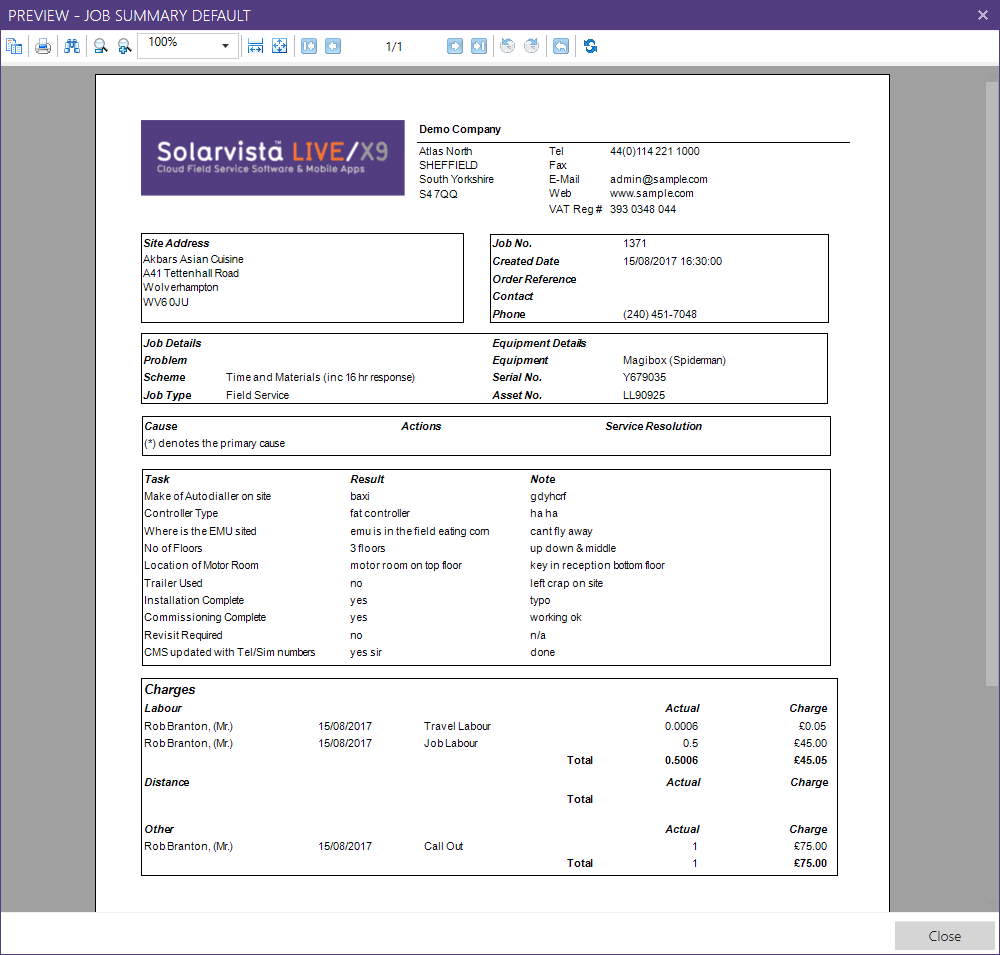
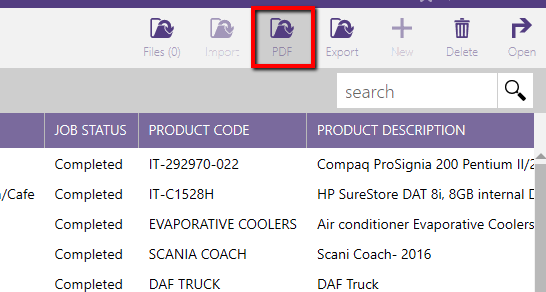
Printing job sheets in the back office is achieved using the PDF button on the top bar. Highlight a job and click this button
The system will offer you a choice of Print definition should you have more than one configured
You can also choose the report format. This defaults to PDF but can be changed to Excel, Word etc should you need to.
You then have the option to select a save location or click Preview
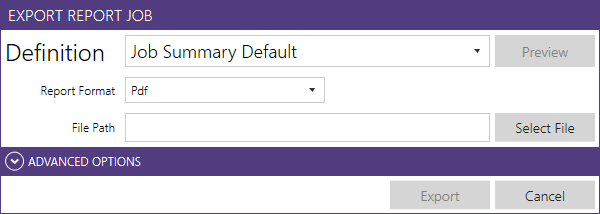
In the Print Preview screen you can see how the printout will look and also print from here without needing to save a copy locally.