Associated Feature(s)
- FEA014 - Attach media and files to all available record types
Within Solarvista X9, it is possible to attach Media and Files to all record types within the system. This can be from the back office or from the Live Mobile Application.
Within the back office
To attach a file to a record, navigate to the area of the system relating to the record type. In this example we will use Customers.
Highlight the record you wish to attach to by clicking once on the line. The line will turn blue
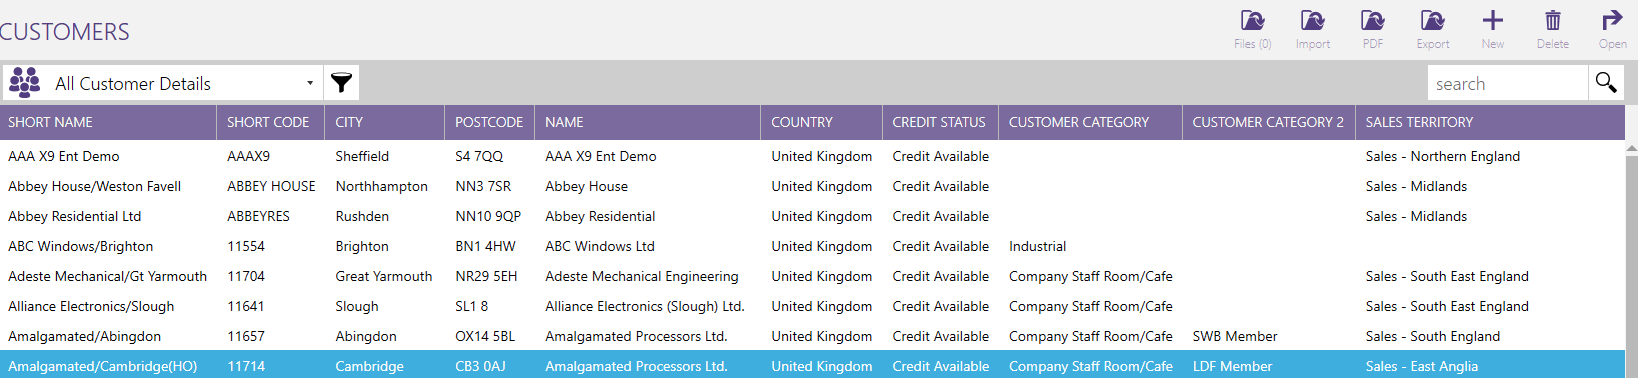
On the top bar you will see the files icon.

This shows how many attachments are currently associated with the record. Clicking this button will load the Linked Documents window. This will show the attached files in the list (if there are any) (1) and pressing Add Document (2) will allow you to select a file to attach.
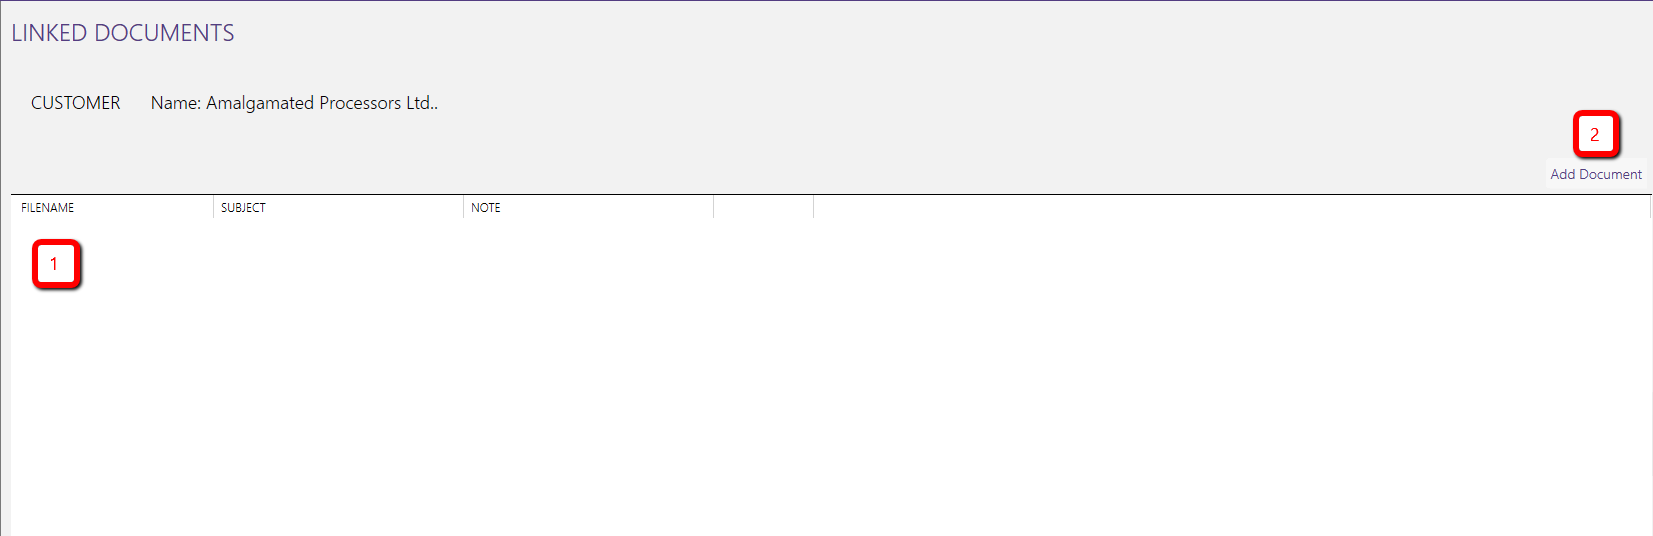
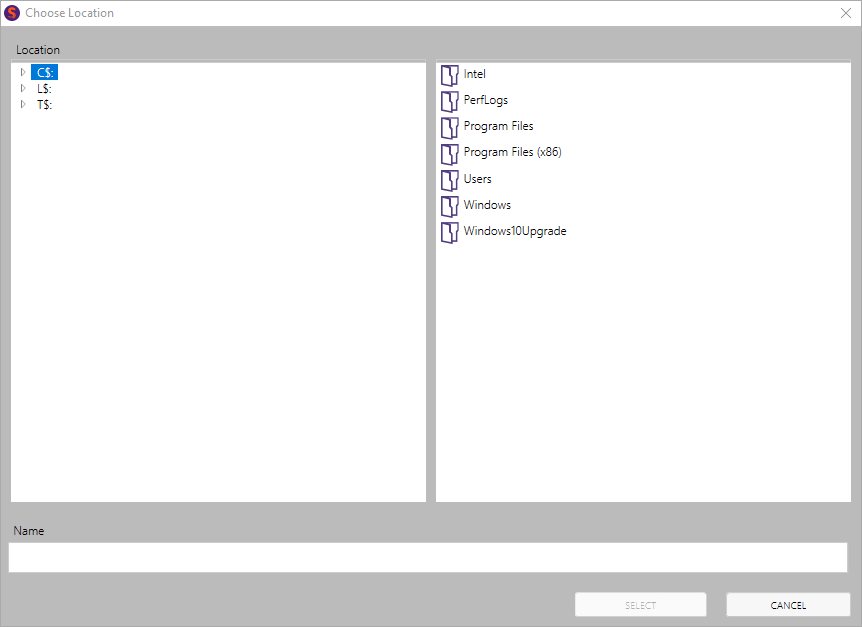
Press the Add document button, and use the navigation window to locate the file and then press Select
Give the Linked Document a Subject and add notes to help with identifying the file later on
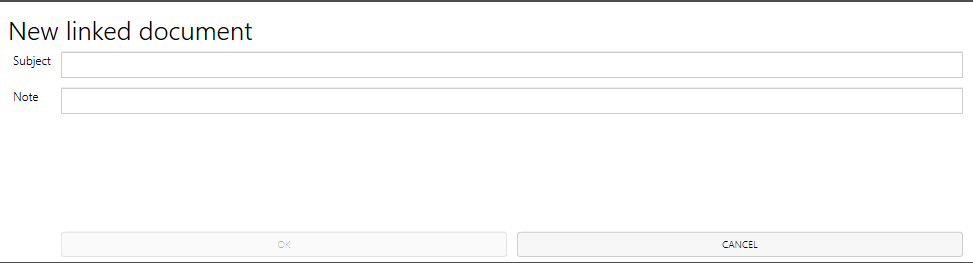
Once you press OK, the file will be uploaded to the system and appear in the list 
You and download the file for viewing at a later date by using the cloud Icon. You can also remove the file by using the Trash can icon
From Live Mobile
Live Mobile users have the option to attach media to Jobs. The type of media available to be linked depends on the mobile operating system in use. This mainly covers photo upload. This is dependant on the Workflow Activity option being enabled. For more information on Workflows, please read our Workflow Help Centre article.
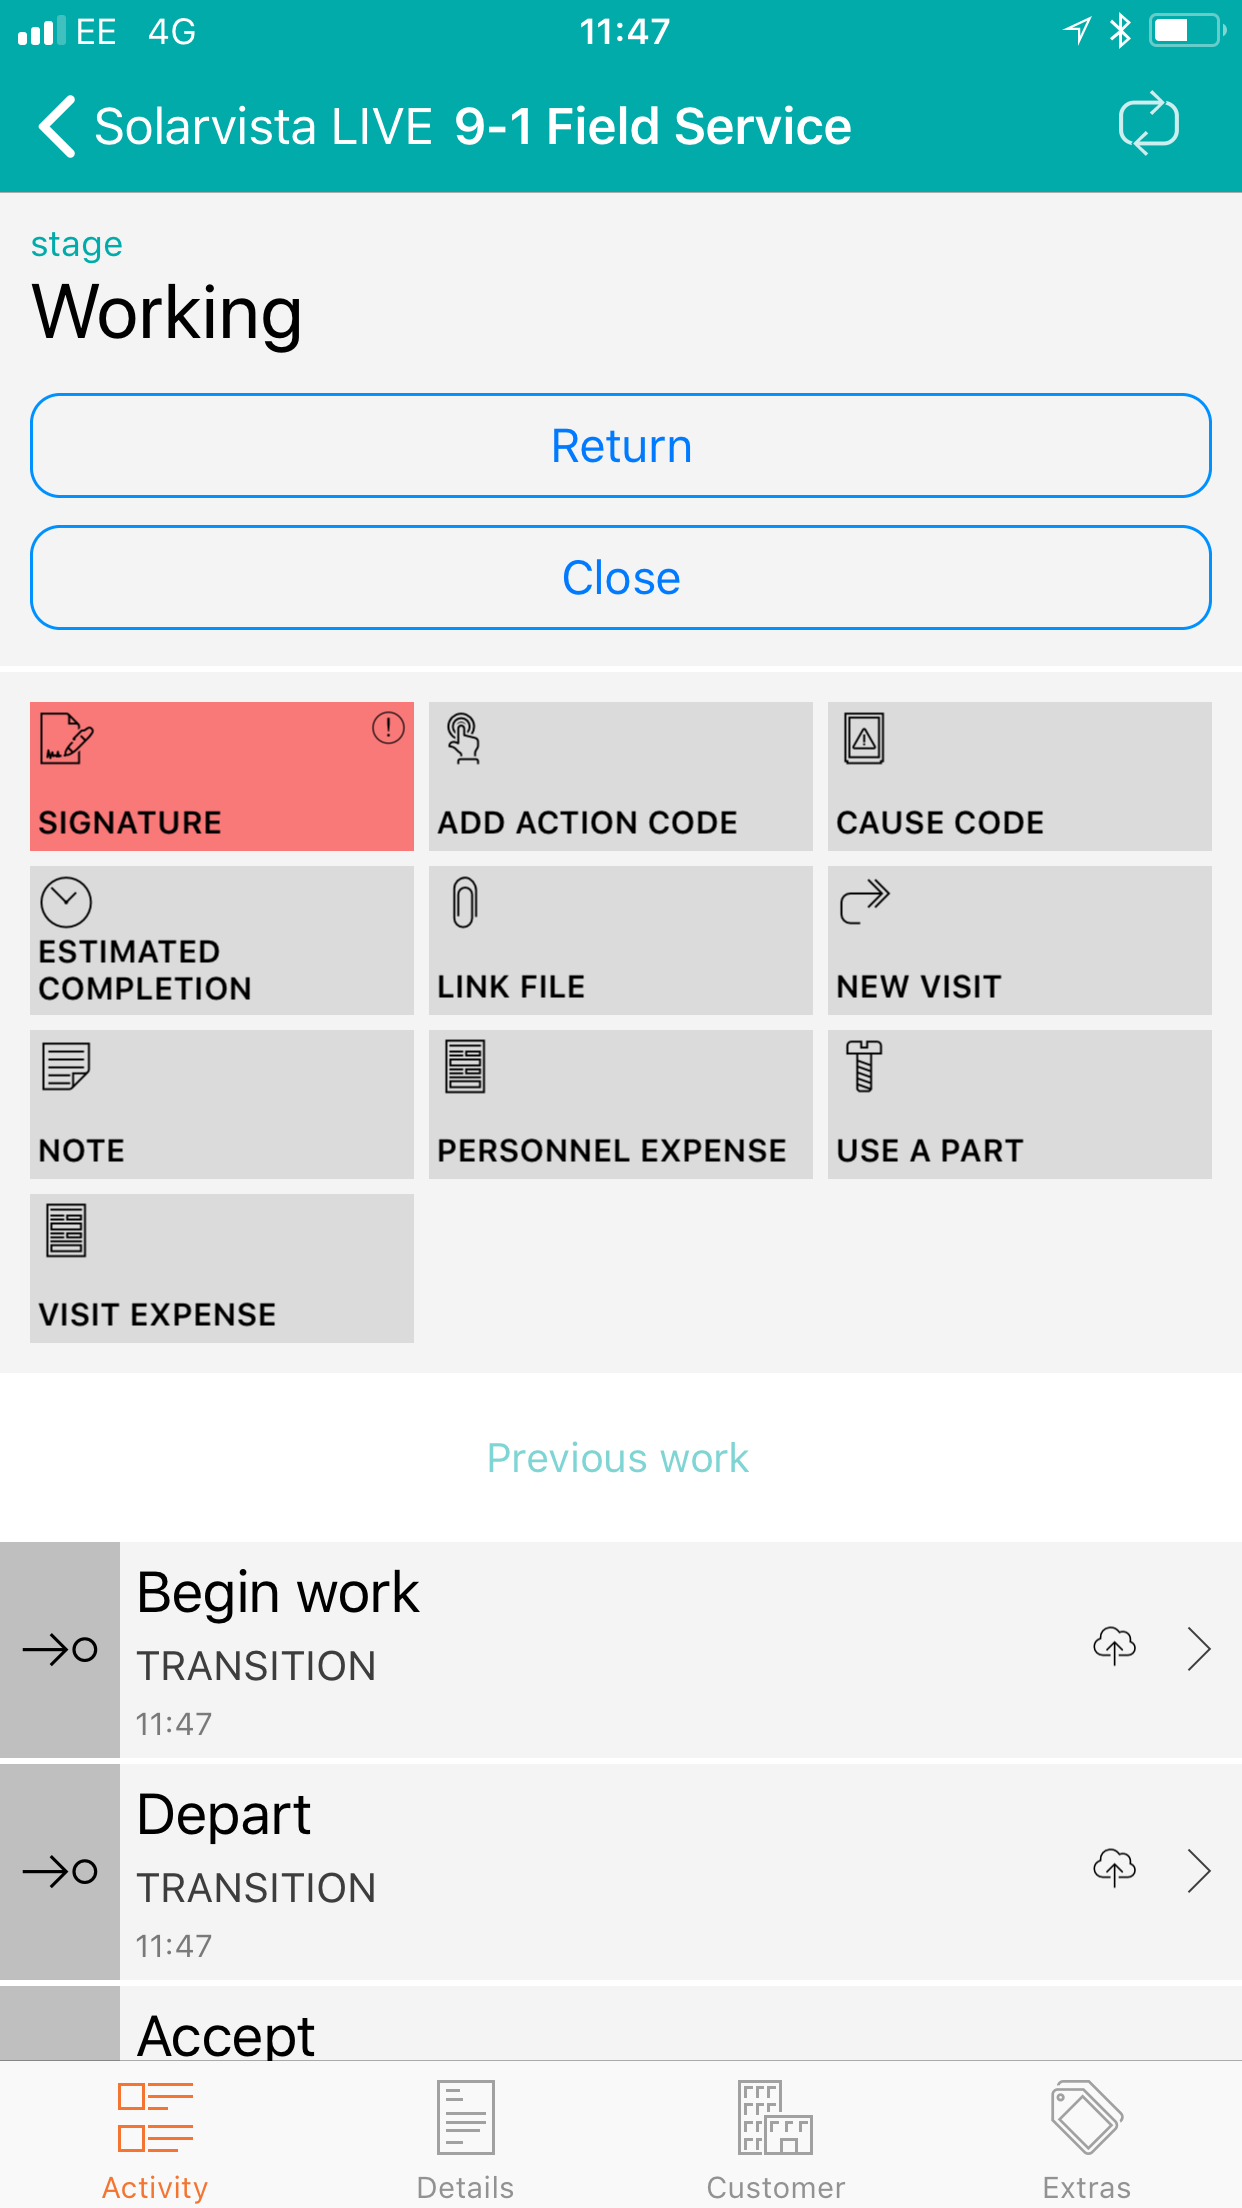
On the mobile, you will see a Link File activity. Pressing on this will load the upload form
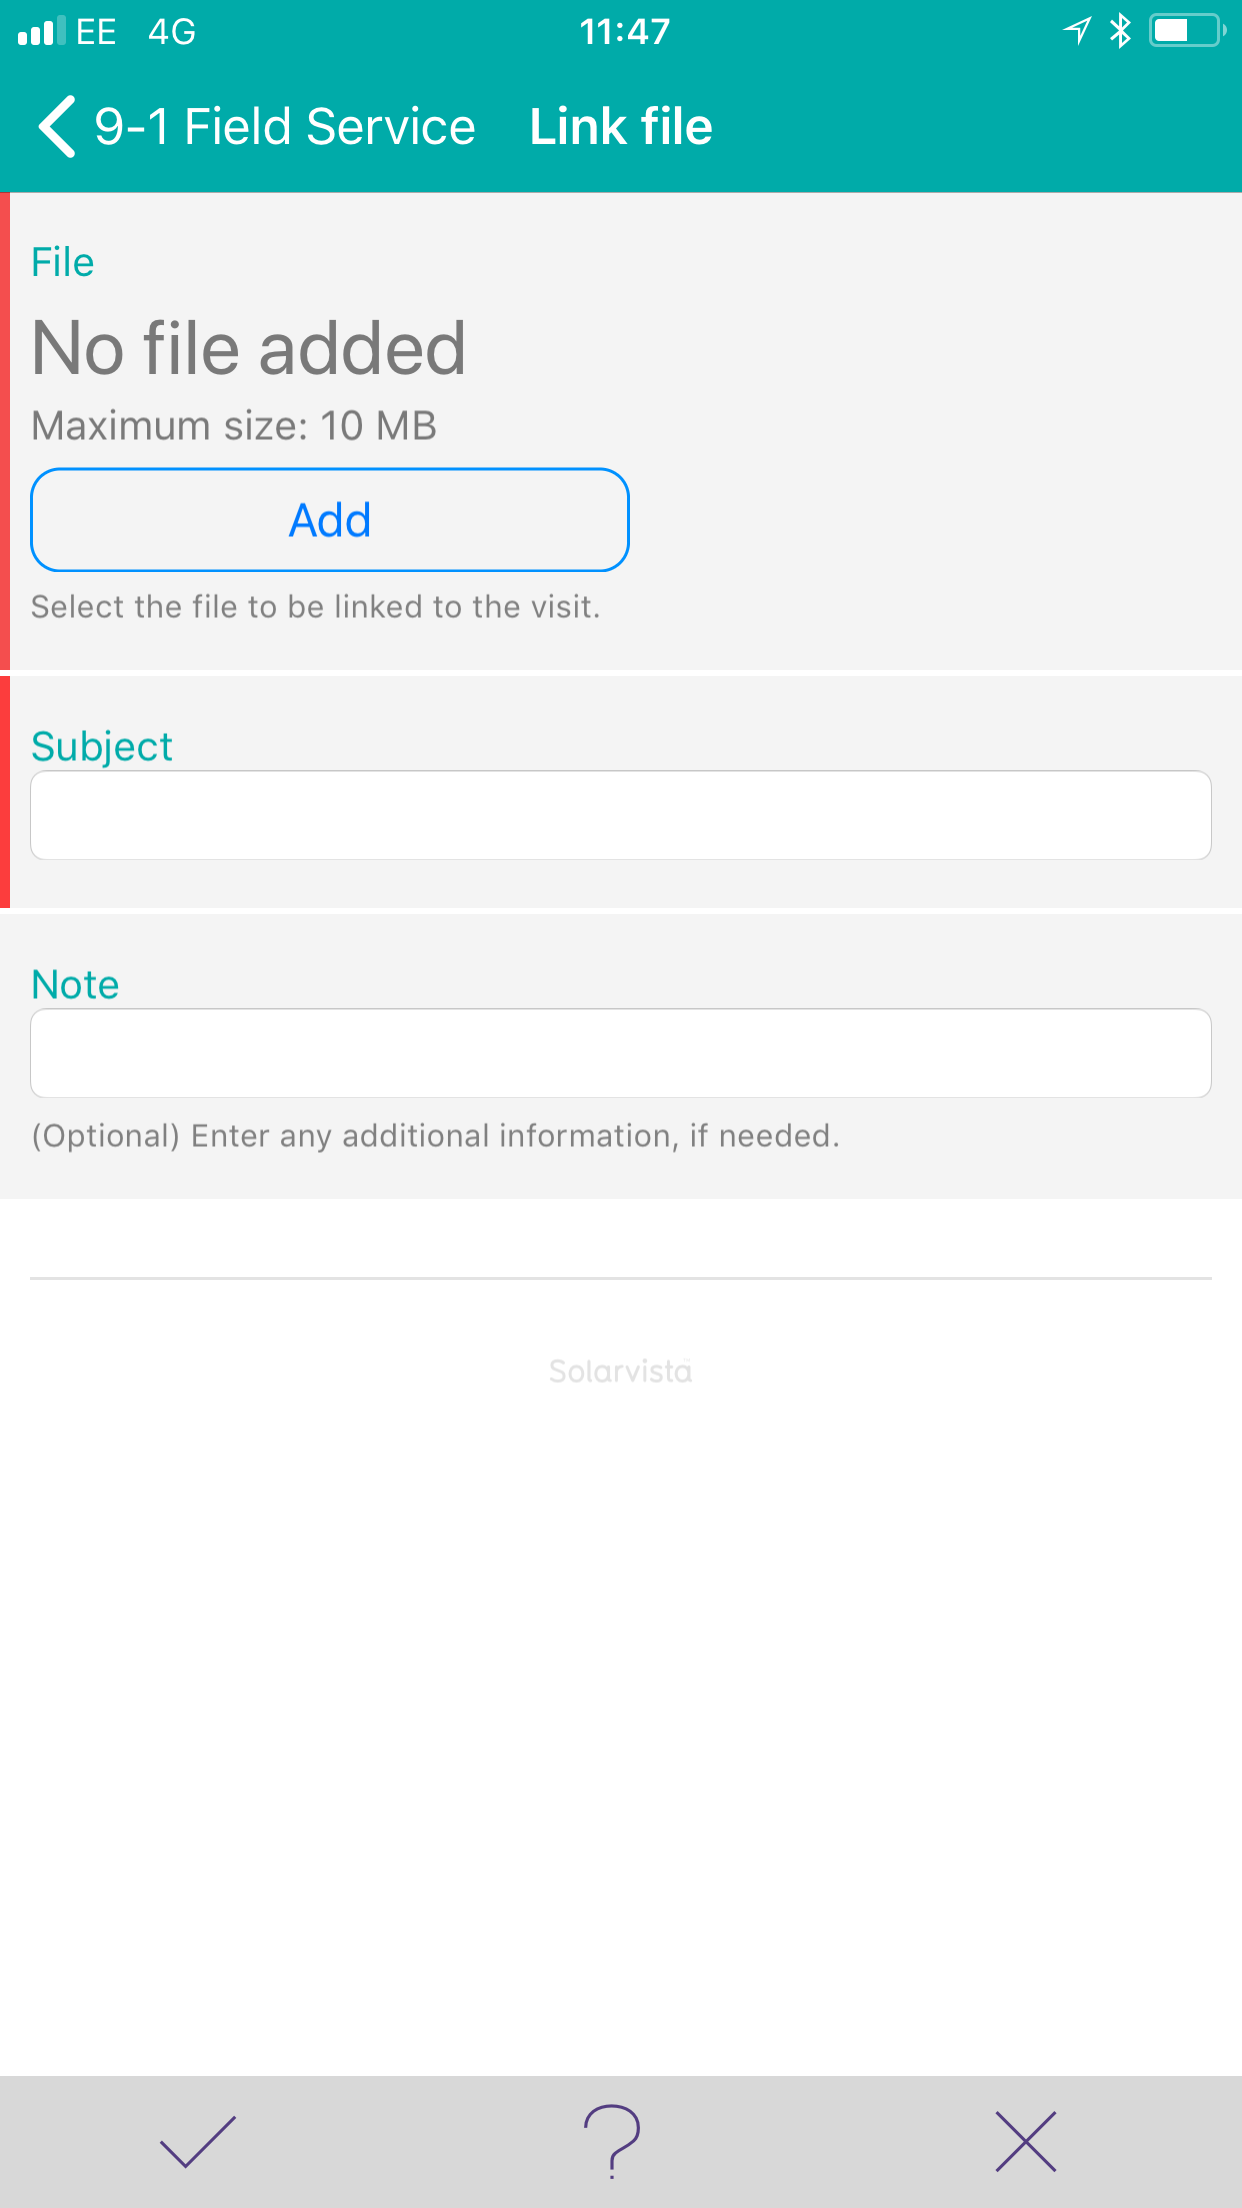
Press Add to open the media browser and select the file/photo you wish to attach.
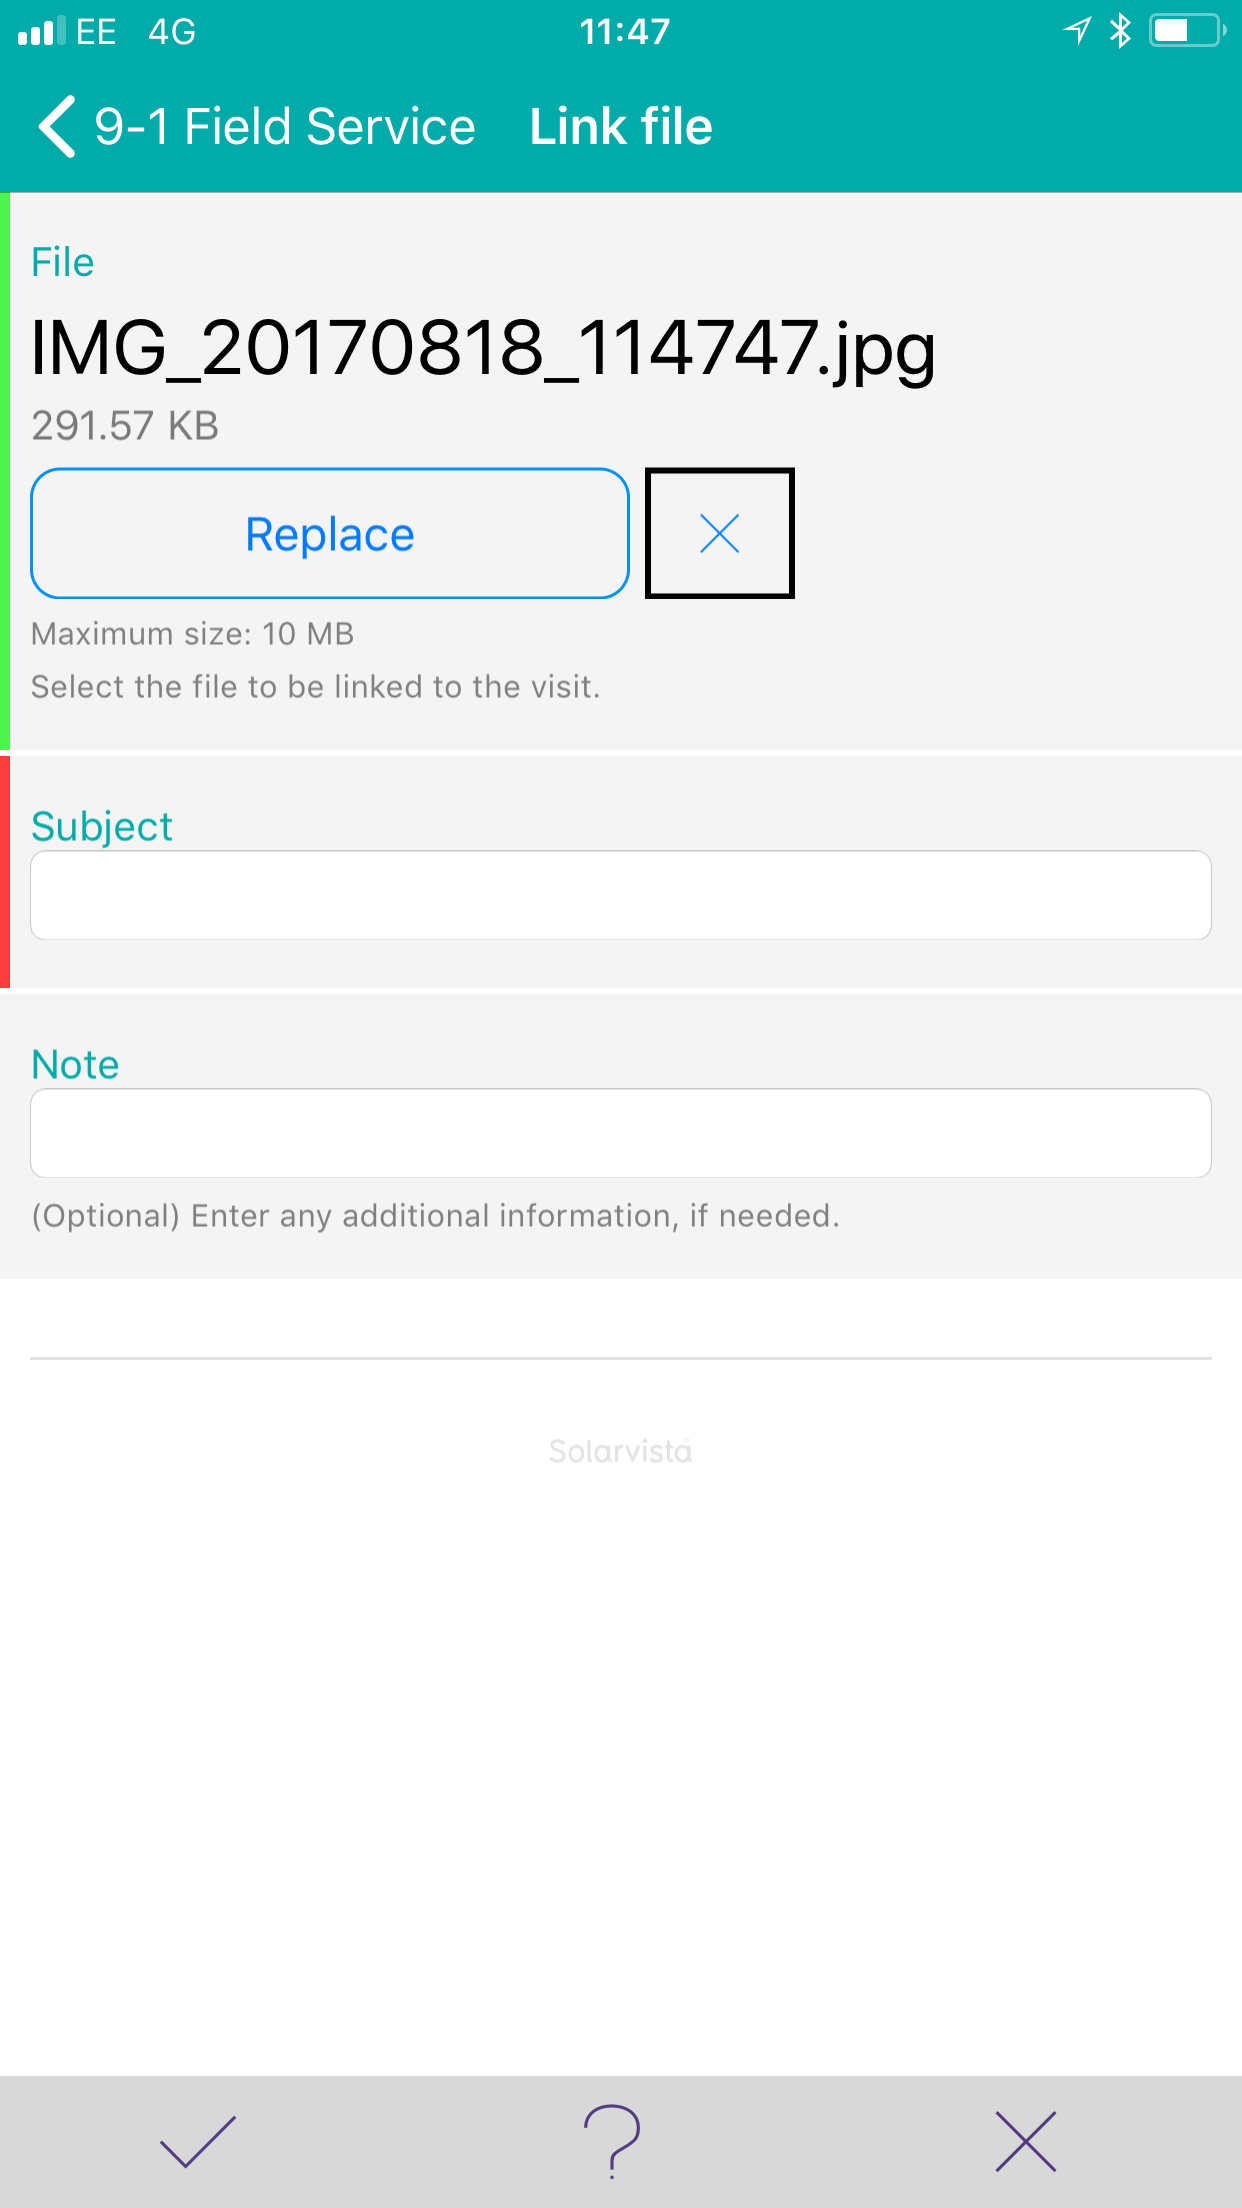
Give the file a subject and add any notes before pressing the tick

The Link File button will update with the number of attachments. Repeat this process to add more files.
The files will then be visible in the back office using the process above