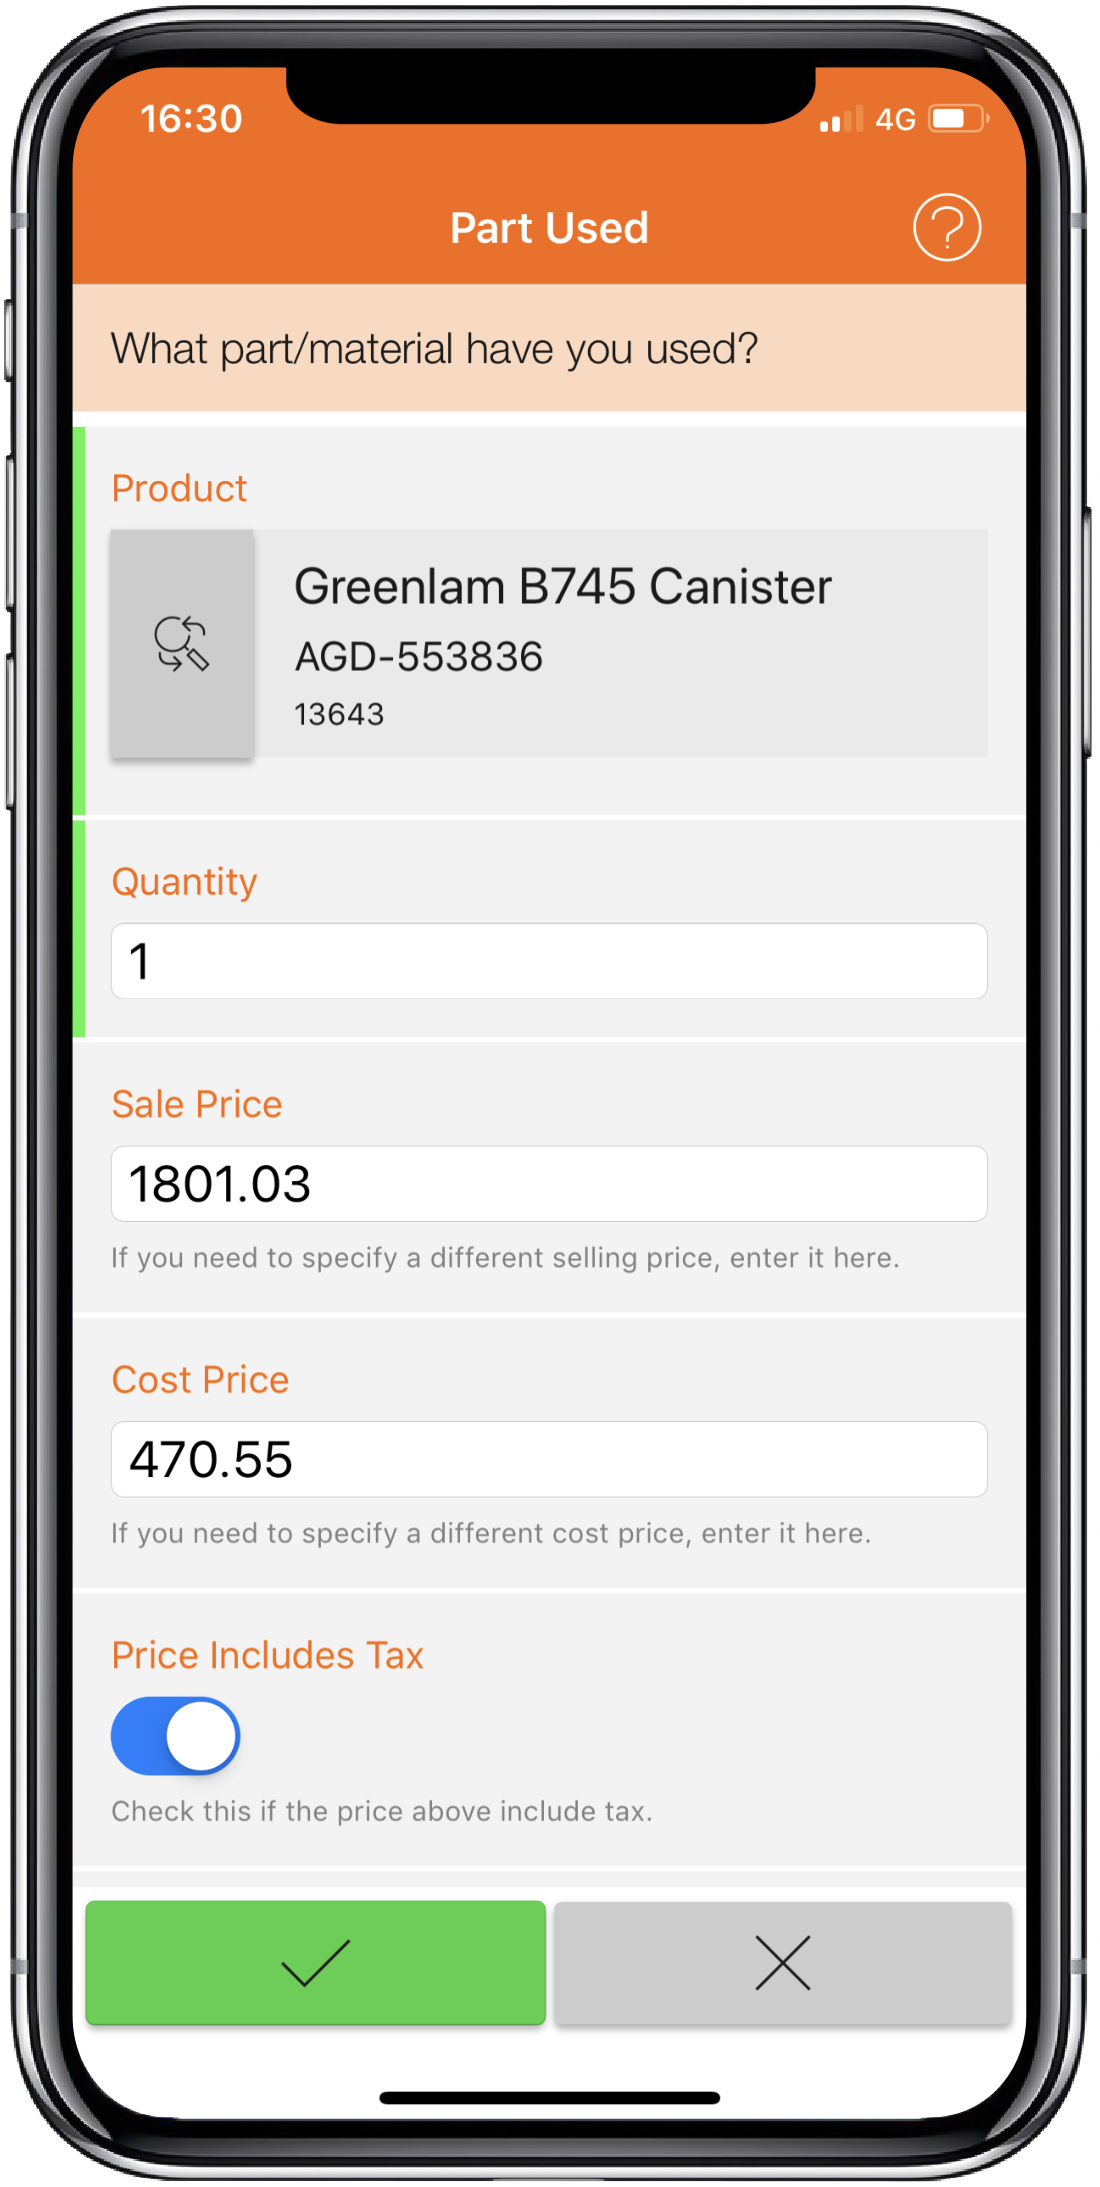
The Part Used form is used to capture a part/material that you wish to record as supplied or used for a Work Item. It allows selection of a Product OR the entry of free text. If cost and sale prices are stored within Solarvista, these are defaulted, but may be edited by you. If you have multiple parts to enter, simply add multiple Part Used forms.
Note. This activity/form may have financial impact upon the Work Item i.e. the Journal is updated by this form and depending upon the Work Item's configuration, it may result in costs or charges being incurred.

The Part Used form is similar to the screen shown below:
To add new Part Used:
- Tap on the Work Item's Activity tab. This will display activities and forms available for the workflow stage of this type of Work Item.

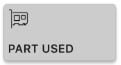
- Tap the Part Used button. A new Part Used form will open.
- Tap in the Product field; this is used to identify the Product used.
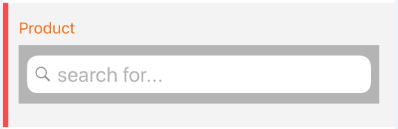
- To find the required Product, you can type in partial text to search for the product's name (or code or reference). The results are initially displayed as a count of "matches" i.e. "3 matches for <your text>". To select a specific Product from the returned results of your search, tap "Select a match" (maybe different, depending upon your specific device and version).
- Tap on the required Product to select it. If you wish to re-select another Product, you may search again using the search button on the field:

- Tap on the Quantity field; a numeric input keyboard will appear to allow you to edit the value. This should be the quantity of the parts/materials used.
- Tap on the Sale Price field; a numeric input keyboard will appear to allow you to edit the value. This will automatically show the normal sale price of the part/material as defined by the setting in the Product record. You should only edit this price if you wish to change the selling price for this item only (actual billing price may be computed via rules setup by the system administrator).
- Tap on the Cost Price field; a numeric input keyboard will appear to allow you to edit the value. This will automatically show the normal cost price of the part/material as defined by the setting in the Product record. You should only edit this price if you wish to change this price for this item only.
- The Price Includes Tax field defaults to the setting from the Product record. If prices shown or input include tax, this will be checked. You should only change this if you are editing the prices.
- Tap on the Serial Number field, if the part/material used has a serial number and enter it.
- If you require the part/material to be replenished to you, you should check (or set to yes) the Replenish box.
- Tap on the Notes field; the input text box will enlarge to the maximum size on the device.
- Type in the text required (or use device’s voice to text feature if available).
- If any content within the notes text should be kept private from external parties, check the Private box.
- Click the Save button to save the activity/form.

- Depending upon the configuration of the form in the specific work item template, the activity/form will be transmitted immediately or kept locally on the device until the next workflow stage.
- If you wish to abort the entry of the activity/form at any time, you can tap the Cancel button. This closes the activity/form and no information is saved.

To view a Part Used activity/form after you have entered it:
- Tap on the Activity tab of the Work Item.
- Scroll down to the page to find the Extra Labour entry you wish to view.

- Tap on the edit icon ('Pencil') on the right hand side.
- The full Part Used form will be displayed.
To edit the Part Used after you have entered it:
NOTE. This assumes the Part Used activity/form for the particular work item template has not been configured to "transmit immediately"; if it has, the it is no longer editable after it has been transmitted.
- Tap on the Activity tab for the Work Item.
- Scroll down to the page to find the Part Used entry.
- Tap on the edit icon ('Pencil') on the right hand side. The Part Used form will be displayed.
- To confirm that you wish to edit, tap on the Edit button ("Pencil") on the bottom right hand side.

- A dialog will display, "Edit this Activity?".
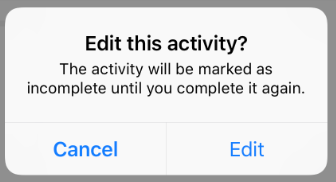
- To continue, tap on the Edit option button. The activity/form is re-opened for editing.
- Edit the data as you require and tap the Save button ("tick") at the bottom. The edited activity/form data will now saved.
To delete a Part Used activity/form after you have entered it:
NOTE. The above assumes the Part Used activity/form for the particular work item template has not been set to "transmit immediately"; if it has, it is no longer possible to delete it after it has been transmitted.
- Tap on the Activity tab of the Work Item.
- Scroll down to the page to find the Part Used entry.
- Tap on the Edit button ('Pencil') on the right hand side.
The Part Used form will be displayed. - To confirm that you wish to permanently delete the Part Used form, tap on the Delete icon ("Trash Bin") on the top right hand side.

- A dialog will display, "Delete this activity?".
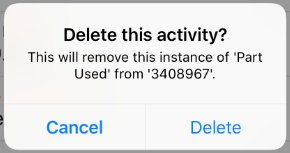
- To confirm, tap on the "Delete" option button. The activity/form is deleted.