The Notes form is used to capture free text notes which need to be recorded with the Work Item. Notes can be tagged as ‘Private’ if information within the notes should not be shared with external parties.
Note. This activity/form does not have any financial impact upon the Work Item i.e. the Journal is not updated by this form.

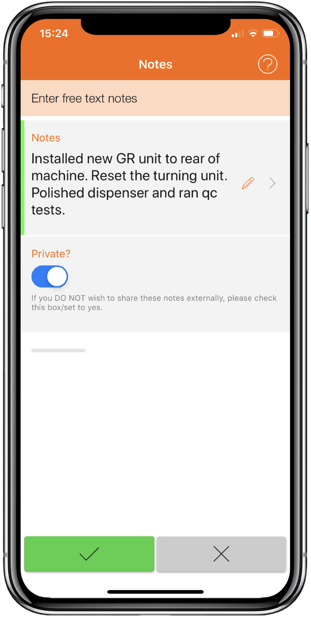
The Notes form is similar to the screen shown below:
To add new Notes:
- Tap on the Work Item's Activity tab. This will display activities and forms available for the workflow stage of this type of Work Item.

- Tap the Notes button. A new Notes form will open.
- Tap in the Notes field; the input text box will enlarge to the maximum size on the device.
- Type in the text required (or use device’s voice to text feature if available).
- If any content within the notes text should be kept private from external parties, check the Private box.
- Click the Save button to save the activity/form.
- Depending upon the configuration of the form in the specific work item template, the activity/form will be transmitted immediately or kept locally on the device until the next workflow stage.
- If you wish to abort the entry of the activity/form at any time, you can tap the Cancel button. This closes the activity/form and no information is saved.
To view a Notes after you have entered it:
- Tap on the Activity tab of the Work Item.
- Scroll down to the page to find the Notes entry you wish to view.

- Tap on the edit icon ('Pencil') on the right hand side.
- The full Notes form will be displayed.
To edit the Notes after you have entered them:
NOTE. This assumes the Notes activity/form for the particular work item template has not been configured to "transmit immediately"; if it has, the it is no longer editable after it has been transmitted.
- Tap on the "Activity" tab for the Work Item.
- Scroll down to the page to find the 'Notes' entry.
- Tap on the edit icon ('Pencil') on the right hand side. The Notes form will be displayed.
- To confirm that you wish to edit, tap on the Edit button ("Pencil") on the bottom right hand side.

- A dialog will display, "Edit this Activity?".
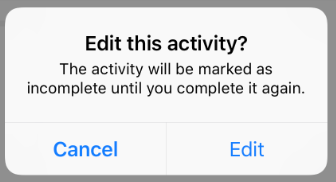
- To continue, tap on the Edit option button. The activity/form is re-opened for editing.
- Edit the data as you require and tap the Save button ("tick") at the bottom. The edited activity/data will now saved.
To delete the Notes activity/form after you have entered it:
NOTE. This assumes the Notes activity/form for the particular work item template has not been configured to "transmit immediately"; if it has, the it is no longer editable after it has been transmitted.
- Tap on the Activity tab of the Work Item.
- Scroll down to the page to find the Notes entry.
- Tap on the Edit button ('Pencil') on the right hand side.
The Notes form will be displayed. - To confirm that you wish to permanently delete the Notes form, tap on the Delete icon ("Trash Bin") on the top right hand side.

- A dialog will display, "Delete this activity?".
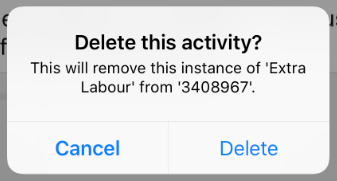
- To confirm, tap on the "Delete" option button. The activity/form is deleted.