The Solarvista™ web portal is designed to be clear and simple to use. It’s also designed to operate on desktop size screens with mouse or tablets or phones using touch/finger inputs. Some features are however best used on larger screens e.g. the calendars but they still function on small screens.
Account Indicator

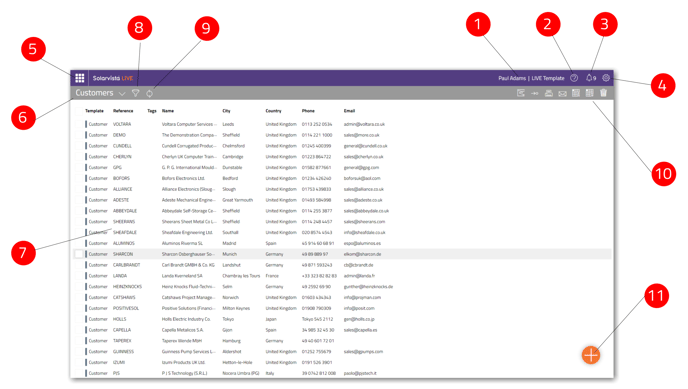
When you are signed in to an account, your user name will be displayed here [1], together with the name of the account.
Online Help
![]()
You are already looking at the online help content here, however there are two ways to access this content. You can access the help centre directly at https://help.solarvista.com from within any web browser. However, you can also directly access context aware help by clicking on the help button [2] (a “?”) which will display a small window with contextual help topics. You can also search the help centre from this window or click on the “Contact Us” button to raise a help desk ticket to Solarvista.
Notifications

When messages are sent to you by the system, or by Solarvista, they will appear under this button [3]. This displays a slide-in pane that shows all notifications, both read and unread. The number at the side of the button shows the count of new notifications.
System Menu
![]()
On the top right of the screen [4], you will see the Account & System Menu button (“cog”). When clicked this opens a slide-in pane that shows various menu items associated with your account. It is here where you add/remove users, set import/exports etc. access account settings and switch accounts (if you have multiple accounts).
Main Menu

On the top left of the screen, you will see the Main Menu button [5]. When clicked this opens a slide-in pane that shows buttons & icons for all your data, views of data as well as access to the Designer sections. This menu is populated automatically but also can be customized to your exact needs/preferences.
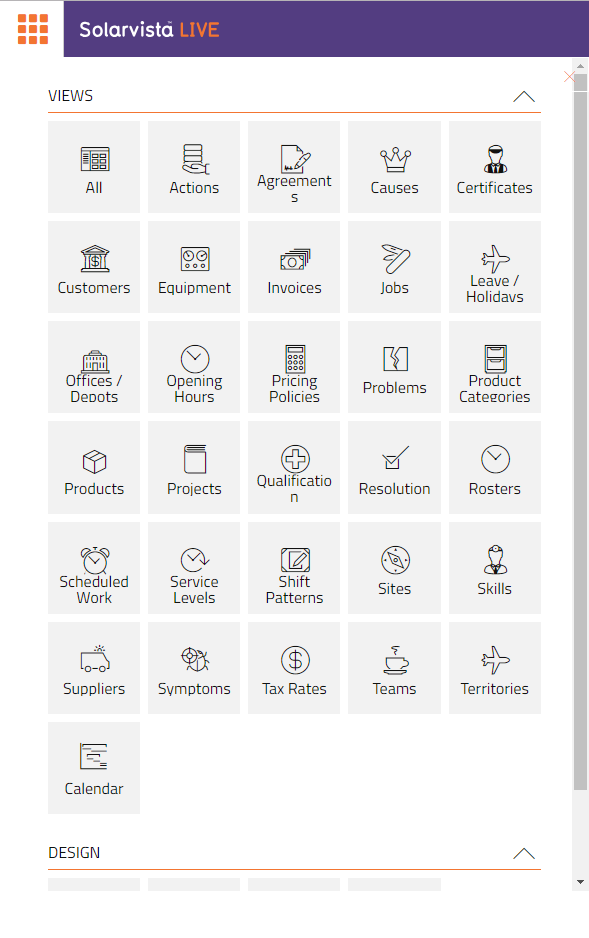
Note: This menu is subject to customisation within account and may look different in your account.
View Selector
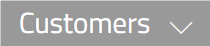
Views are definitions of data view based upon criteria that you can edit. The View Selector [6] displays the current name of the view selected and displayed. To the right, is a down arrow button and allows access to all the Views that are related to the View displayed. For example, you may have a “Customers” view that displays ALL customers, but you could have related views, which for example, may be “Customers (North)” or “Customers (Important)” etc. From this drop-down menu, you can also edit the existing view definition or create a new View entirely.
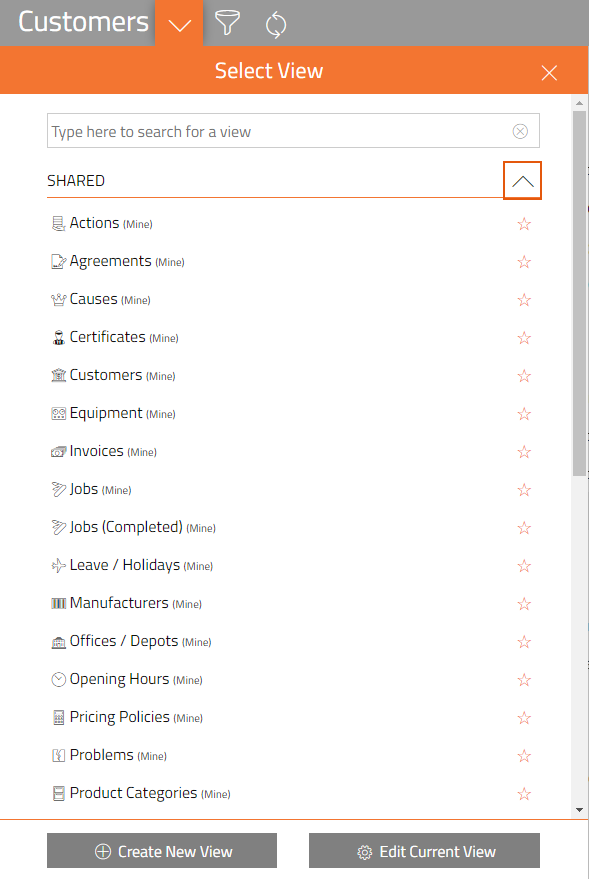
Views can also be shared, so that the appear on all users’ menus.
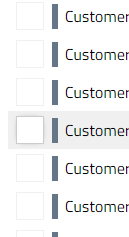
View Grid/List
This is the main part of the screen [7] and displays the records within the selected view. To scroll further in the list, click on the scroll bars at the right-hand side. You will see on the left-hand side for each record, that there is a Selection Checkbox. This allows you to perform actions (see Actions Buttons) on multiple records at one time.
Quick Filter

When views are displays, sometimes you may wish to add additional criteria to help you find the records you are looking for. The Quick Filter facility [8] allows you to add criteria which is applied in addition to the view criteria. As you enter criteria into this slide-in, the records are filtered live underneath. You can close the slide in temporarily and re-open it again. If filter criteria is applied, the Quick Filter icon shows in reverse.

Refresh Button

The views do not automatically refresh so if you wish to get the latest data on screen, use this button [9] to refresh the view.
Action Buttons

The Action Buttons [10] are context aware to the view displayed. It contains buttons that perform various actions on records that are selected in the View using the Selection Checkboxes. Example actions are:
- Transition (e.g. Assign) a Job to a User
- Assign Jobs using Calendar
- Export Records to Text File
- Send Email containing records
Etc.
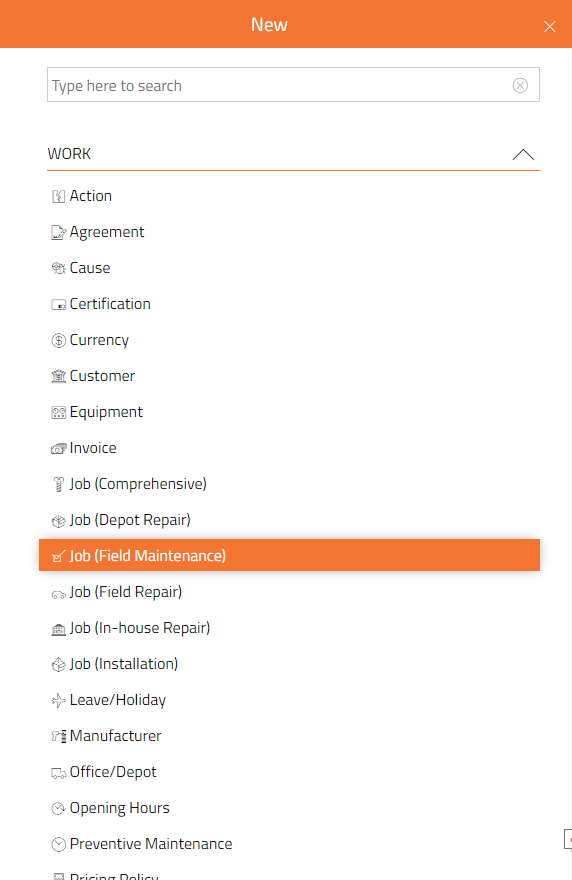
New Button

On the bottom right of the screen when views are displayed, a floating “plus button” [11] allows instant ability to create new records. All types of new records can be created (both data and work records. By selecting the type of record, you wish to create, you can then enter a new record without affecting the work underneath. The button allows entry of new data records or work-type records like Jobs or Agreements.